Create a simple Image Viewing application with simple Animation effects with this Tutorial using Projection animation created procedurally.
Printer Friendly Download Tutorial (211KB) Download Source Code (6.37KB) Online Demonstration
Step 1
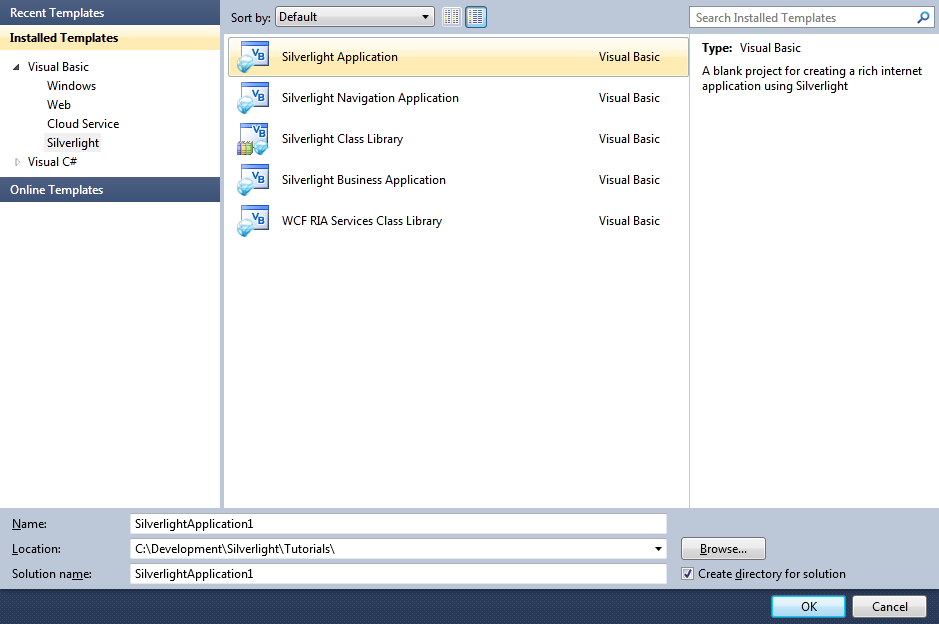
Start Microsoft Visual Web Developer 2010 Express, then Select File then New Project... Select "Visual Basic" then "Silverlight Application" from Templates, select a Location if you wish, then enter a name for the Project and then click OK, see below:
Step 2
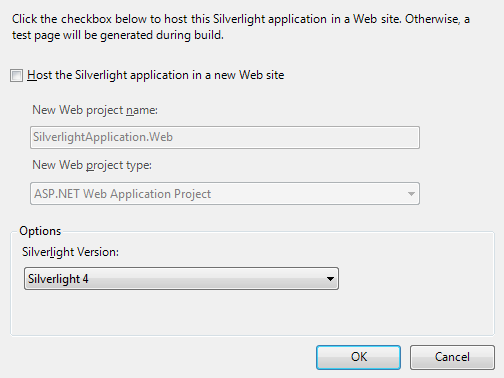
New Silverlight Application window should appear, uncheck the box "Host the Silverlight Application in a new Web site" and then select the required Silverlight Version, see below:
Step 3
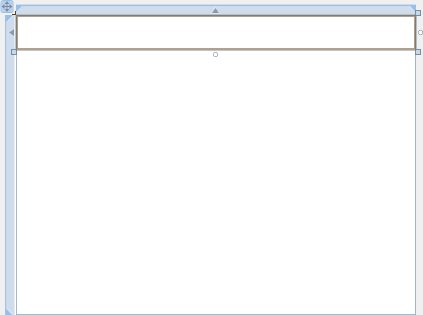
A Blank Page named MainPage.xaml should then appear, see below:
Step 4
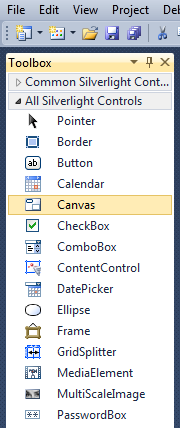
Then from the All Silverlight Controls section in the Toolbox select the Canvas control:
Step 5
Draw a Canvas on the Page then in the XAML Pane above the "</Grid>" then change the "Canvas1" line to the following:
<Canvas Height="35" Width="400" VerticalAlignment="Top" HorizontalAlignment="Left" Name="Toolbar"></Canvas>
See below:
Step 6
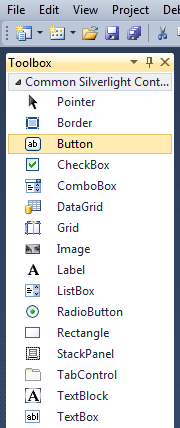
Then from the Common Silverlight Controls section in the Toolbox select the Button control:
Step 7
Draw Four Buttons on the Page by dragging the Buttons from the Toolbox onto the Page or in the XAML Pane inbetween the "<Canvas>" and "</Canvas>" tags type the following:
<Button Canvas.Left="6" Canvas.Top="6" Height="23" Width="75" Name="Button1" Content="Button"/>
<Button Canvas.Left="87" Canvas.Top="6" Height="23" Width="75" Name="Button2" Content="Button"/>
<Button Canvas.Left="168" Canvas.Top="6" Height="23" Width="75" Name="Button3" Content="Button"/>
<Button Canvas.Left="249" Canvas.Top="6" Height="23" Width="75" Name="Button4" Content="Button"/>
See below:

Step 8
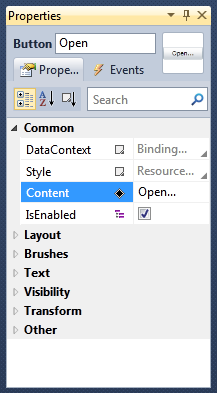
Click on the first Button (Button1), then goto the Properties box and change the Name to "Open" and the Content property from Button to "Open..." (both without the quotes), see below:
Step 9
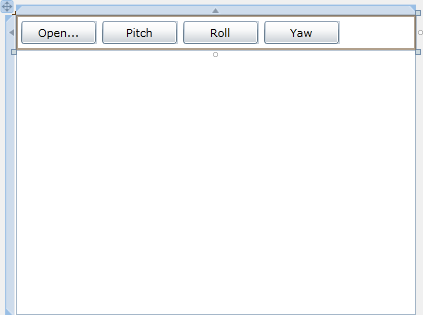
Click on the second Button (Button2), then goto the Properties box and change the Name to "Pitch" and the Content property from Button to "Pitch".
Click on the third Button (Button3) and goto the Properties box and change the Name to "Roll" and the Content property to "Roll".
Then click on the fourth Button (Button4) and goto the Properties box and change the Name to "Yaw" and the Content property to "Yaw".
(all without the quotes), the page should appear as below:
Step 10
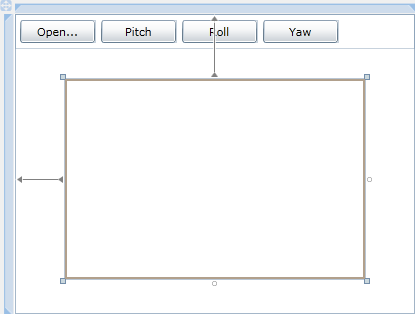
Then in the XAML Pane to add a Image Control to the Page below the "</Canvas>" line and above the "</Grid>" line, add the following XAML:
<Image Height="200" Width="300" Margin="50,65,0,0" Stretch="Uniform" VerticalAlignment="Top" HorizontalAlignment="Left" Name="Display">
  <Image.Projection>
    <PlaneProjection x:Name="Target"/>
  </Image.Projection>
</Image>
See below:
Step 11
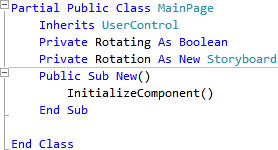
Right Click on the Page or the entry for "MainPage.xaml" in Solution Explorer and choose the "View Code" option. In the Code View below the "Inherits UserControl" line type the following:
Private Rotating As Boolean
Private Rotation As New Storyboard
See Below:
Step 12
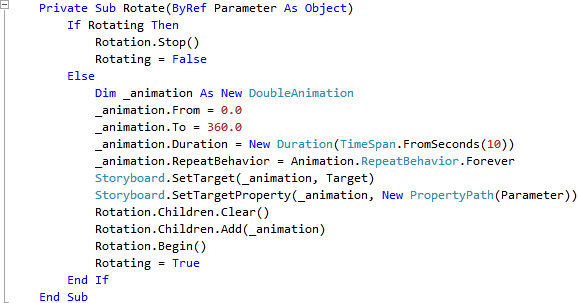
While still in the Code View for MainPage.xaml, below "End Sub" for "Public Sub New()" Constructor type the following Sub:
Private Sub Rotate(ByRef Parameter As Object)
  If Rotating Then
    Rotation.Stop()
    Rotating = False
  Else
    Dim _animation As New DoubleAnimation
    _animation.From = 0.0
    _animation.To = 360.0
    _animation.Duration = New Duration(TimeSpan.FromSeconds(10))
    _animation.RepeatBehavior = Animation.RepeatBehavior.Forever
    Storyboard.SetTarget(_animation, Target)
    Storyboard.SetTargetProperty(_animation, New PropertyPath(Parameter))
    Rotation.Children.Clear()
    Rotation.Children.Add(_animation)
    Rotation.Begin()
    Rotating = True
  End If
End Sub
See Below:
Step 13
Return to the Designer View, by selecting the "MainPage.xaml" Tab, or Right Click on the Page or the Entry for "MainPage.xaml" in Solution Explorer and choose the "View Designer" option.
Double Click on the "Open..." Button Control and type in the Open_Click Sub:
Dim OpenDialog As New OpenFileDialog
OpenDialog.Filter = "JPEG Image (*.jpg;*.jpeg)|*.jpg;*.jpeg"
If OpenDialog.ShowDialog Then
  Try
    If OpenDialog.File.Exists Then
    Using FileStream As IO.Stream = OpenDialog.File.OpenRead
      Dim Source As New Imaging.BitmapImage
      Source.SetSource(FileStream)
      Display.Source = Source
    End Using
  End If
  Catch ex As Exception
    ' Ignore Errors
  End Try
End If
See Below:

Step 14
Return to the Designer View, by selecting the "MainPage.xaml" Tab, or Right Click on the Page or the Entry for "MainPage.xaml" in Solution Explorer and choose the "View Designer" option.
Double Click on the "Pitch" Button and type in the Pitch_Click Sub:
Rotate(PlaneProjection.RotationXProperty)
See Below:

Step 15
Return to the Designer View, by selecting the "MainPage.xaml" Tab, or Right Click on the Page or the Entry for "MainPage.xaml" in Solution Explorer and choose the "View Designer" option.
Double Click on the "Roll" Button and type in the Roll_Click Sub:
Rotate(PlaneProjection.RotationZProperty)
See Below:

Step 16
Return to the Designer View, by selecting the "MainPage.xaml" Tab, or Right Click on the Page or the Entry for "MainPage.xaml" in Solution Explorer and choose the "View Designer" option.
Double Click on the "Yaw" Button and type in the Yaw_Click Sub:
Rotate(PlaneProjection.RotationYProperty)
See Below:

Step 17
Save the Project as you have now finished the Silverlight application. Select Debug then Start Debugging or click on Start Debugging:
After you do, the following will appear in a new Web Browser window:
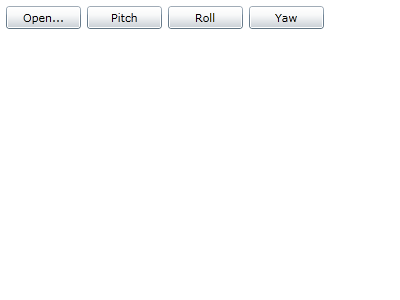
Step 18
Now click where it says "Open...", a File Open Dialog - then select a JPEG Image File or ".jpg" / ".jpeg" file on your Computer and select Open and the contents will appear in the Image Control, which you can then Animate with the Pitch, Roll and Yaw Buttons, see below:
Step 19
Close the Browser window by clicking on the Close Button ![]() on
the top right of the Web Browser to Stop the application.
on
the top right of the Web Browser to Stop the application.
This is a very simple example on animating an Image using Code, it is also possible to have multiple animations - if you declare on Animation object for each type you can combine animations together - see what you can add and change yourself!
![]()