Choose your Lotto Numbers with this simple Tutorial using Random Numbers and features correctly coloured balls for the UK Lotto.
Printer Friendly Download Tutorial (183KB) Download Source Code (6.49KB) Online Demonstration
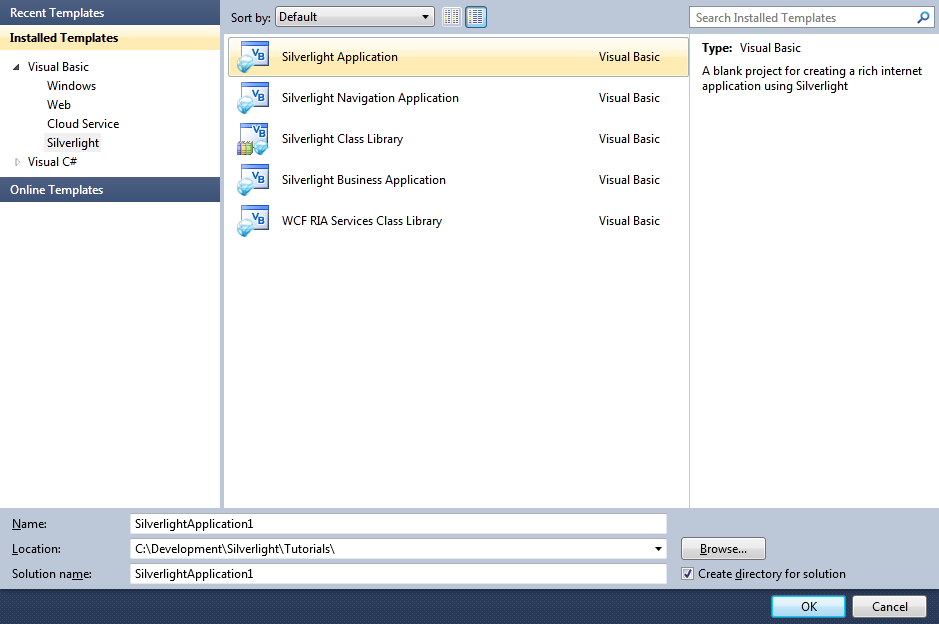
Step 1
Start Microsoft Visual Web Developer 2010 Express, then Select File then New Project... Select "Visual Basic" then "Silverlight Application" from Templates, select a Location if you wish, then enter a name for the Project and then click OK, see below:
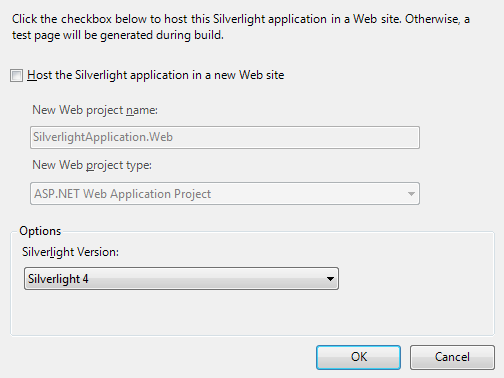
Step 2
New Silverlight Application window should appear, uncheck the box "Host the Silverlight Application in a new Web site" and then select the required Silverlight Version, see below:
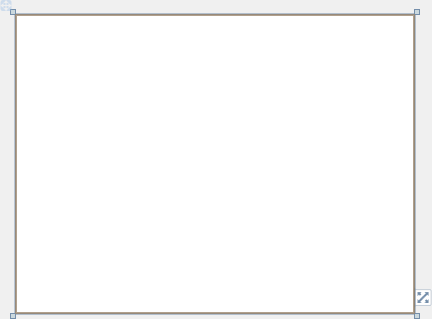
Step 3
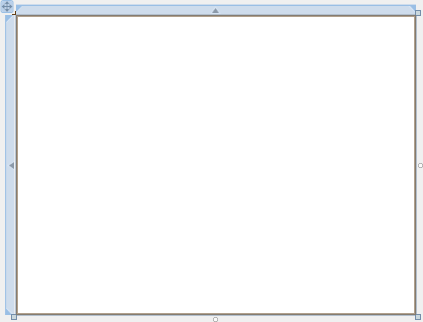
A Blank Page named MainPage.xaml should then appear, see below:
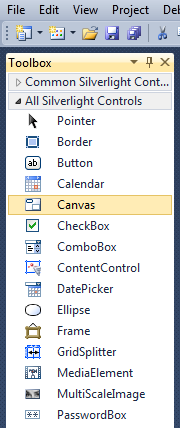
Step 4
Then from the All Silverlight Controls section in the Toolbox select the Canvas control:
Step 5
Draw a Canvas that fill the whole Page or in the XAML Pane between the "<Grid>" and "</Grid>" lines type the following XAML:
<Canvas Height="300" Width="400" HorizontalAlignment="Left" VerticalAlignment="Top" Name="Page">
</Canvas>
See below:
Step 6
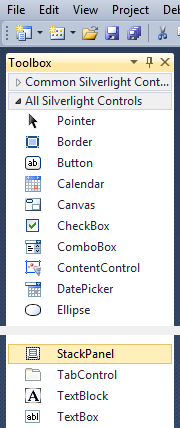
Then from the All Silverlight Controls section in the Toolbox select the StackPanel control:
Step 7
Draw a StackPanel on the Canvas by dragging a StackPanel from the Toolbox onto the Canvas then in the XAML Pane inbetween the "<Canvas>" and "</Canvas>" tags change the "<StackPanel> line to the following:
<StackPanel Canvas.Left="40" Canvas.Top="35" Height="65" Width="320" Orientation="Horizontal" Name="Lottery"/>
See below:

Step 8
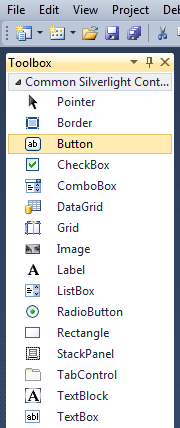
Then from the Common Silverlight Controls section in the Toolbox select the Button control:
Step 9
Draw a Button on the Canvas by dragging the Button from the Toolbox onto the Canvas, then in the XAML Pane below the "<StackPanel>" tag change the "<Button>" line to the following:
<Button Canvas.Left="163" Canvas.Top="263" Height="23" Width="75" Name="Choose" Content="Choose"/>
See below:
Step 10
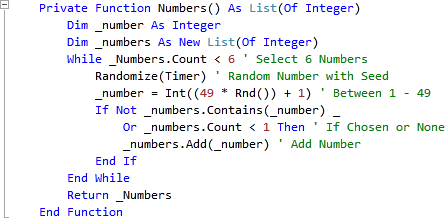
Right Click on the Page or the entry for "MainPage.xaml" in Solution Explorer and choose the "View Code" option. In the Code View below "End Sub" for "Public Sub New()" Constructor type the following Function:
Private Function Numbers() As List(Of Integer)
  Dim _number As Integer
  Dim _numbers As New List(Of Integer)
  While _Numbers.Count < 6 ' Select 6 Numbers
    Randomize(Timer) ' Random Number with Seed
    _number = Int((49 * Rnd()) + 1) ' Between 1 - 49
    If Not _numbers.Contains(_number) _
      Or _numbers.Count < 1 Then ' If Chosen or None
      _numbers.Add(_number) ' Add Number
    End If
  End While
  Return _Numbers
End Function
See Below:
Step 11
While still in the Code View for MainPage.xaml, below "End Function" for "Private Function Numbers()" Function, type the following Sub:
Private Sub Draw(ByRef Stack As StackPanel)
  Stack.Children.Clear()
  For Each _number As Integer In Numbers() ' Choose Numbers
    Dim _container As New Canvas
    Dim _ball As New Ellipse
    Dim _text As New TextBlock
    _container.Margin = New Thickness(2)
    _container.Width = 48
    _container.Height = 48
    _ball.Width = _container.Width
    _ball.Height = _container.Height
    Select Case _number
      Case 1 To 9
        _ball.Fill = New SolidColorBrush(Colors.White)
      Case 10 To 19 ' Sky Blue
        _ball.Fill = New SolidColorBrush(Color.FromArgb(255, 112, 200, 236))
      Case 20 To 29
        _ball.Fill = New SolidColorBrush(Colors.Magenta)
      Case 30 To 39 ' Lawn Green
        _ball.Fill = New SolidColorBrush(Color.FromArgb(255, 112, 255, 0))
      Case 40 To 49
        _ball.Fill = New SolidColorBrush(Colors.Yellow)
    End Select
    _ball.Effect = New Effects.DropShadowEffect
    _container.Children.Add(_ball)
    _text.FontSize = 12
    _text.Text = _number
    _text.Margin = New Thickness(16)
    _container.Children.Add(_text)
    Stack.Children.Add(_container)
  Next
End Sub
See Below:

Step 12
Return to the Designer View, by selecting the "MainPage.xaml" Tab, or Right Click on the Page or the Entry for "MainPage.xaml" in Solution Explorer and choose the "View Designer" option.
Double Click on the "Choose" Button Control and type in the Choose_Click Sub:
Draw(Lottery)
See Below:

Step 13
Save the Project as you have now finished the Silverlight application. Select Debug then Start Debugging or click on Start Debugging:
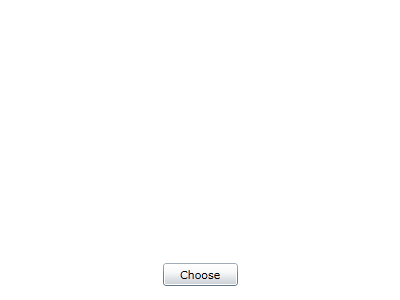
After you do, the following will appear in a new Web Browser window:
Step 14
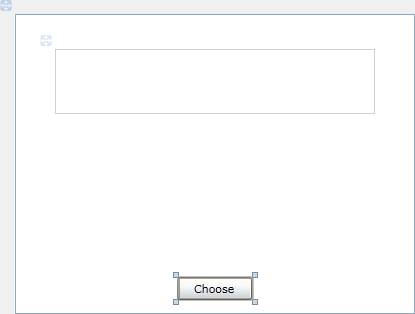
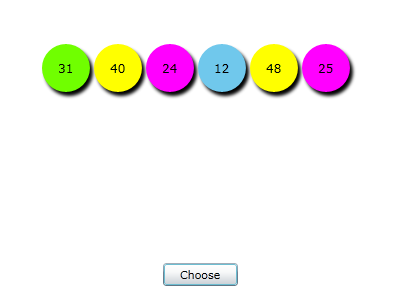
Click the Choose Button to select your Lotto Numbers, see below:
Step 15
Close the Browser window by clicking on the Close Button ![]() on
the top right of the Web Browser to Stop the application.
on
the top right of the Web Browser to Stop the application.
This is a very simple Lotto Number Chooser using a Random Number generator and SIlverlight, you can customise the ball colours to match your Lotto, instead of the UK colours used here. Try making changes to show the numbers in ascending or descending order, it is up to you!
![]()