Tweet View is a Simple application to allow you to view Tweets from a particular person with LINQ and the Twitter® User RSS Feed using Silverlight on Windows Phone 7.
www.cespage.com/silverlight/wp7tut14.html
Step 1
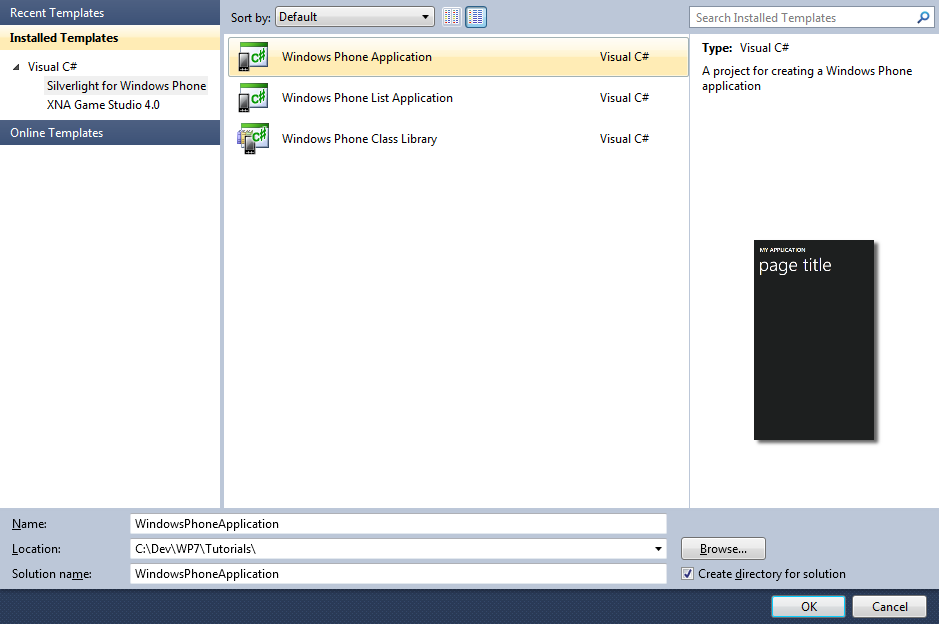
Start Microsoft Visual Studio 2010 Express for Windows Phone, then Select File then New Project... Select "Visual C#" then "Silverlight for Windows Phone" and then "Windows Phone Application" from Templates, select a Location if you wish, then enter a name for the Project and then click OK, see below:
Step 2
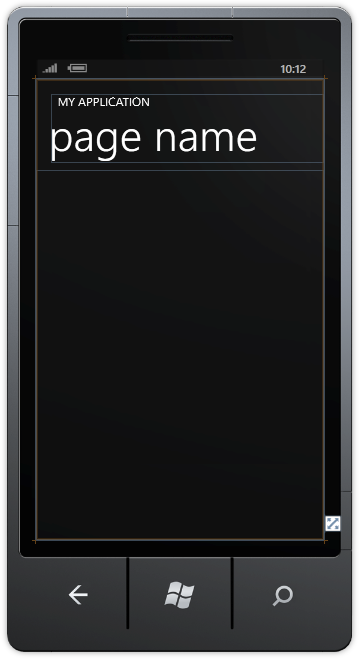
A Windows Phone application Page named MainPage.xaml should then appear, see below:
Step 3
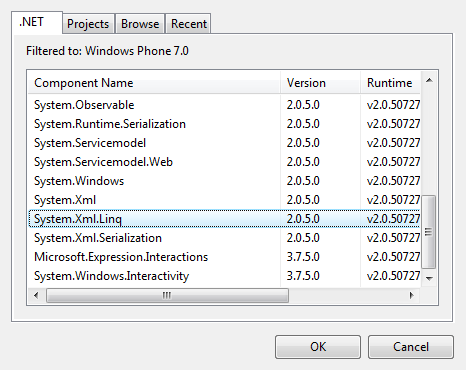
Select Project then Add Reference... The "Add Reference" window should appear, select "System.XML.Linq" from the ".NET" List, see below:
Step 4
Add the Reference to "System.XML.Linq" by Clicking on OK.
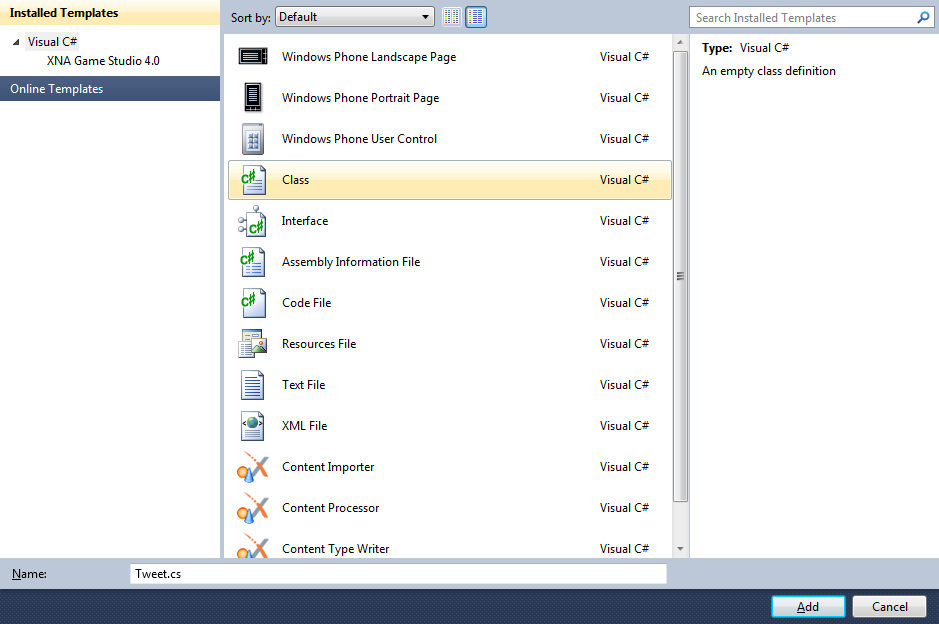
Select Project then "Add Class...", and select the "Class" Template is not already Selected, then change the "Name" to Tweet.cs see below:
Step 5
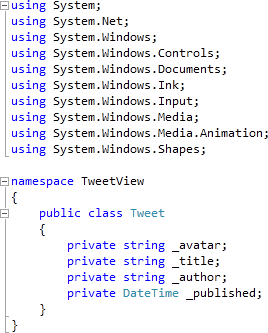
Add the new Class to the Project by Clicking on Add, then in the Code View for the new Class, below the "{" of the line "public class Tweet" type the following:
private string _avatar;
private string _title;
private string _author;
private DateTime _published;
See Below:
Step 6
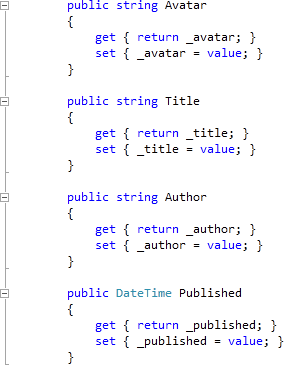
While still in the Code View for Tweet.cs, below the "private DateTime _published;" line type the following Properties:
public string Avatar
{
  get { return _avatar; }
  set { _avatar = value; }
}

public string Title
{
  get { return _title; }
  set { _title = value; }
}

public string Author
{
  get { return _author; }
  set { _author = value; }
}

public DateTime Published
{
  get { return _published; }
  set { _published = value; }
}
See Below:
Step 7
Return to the MainPage Designer View by selecting the "MainPage.xaml" Tab.
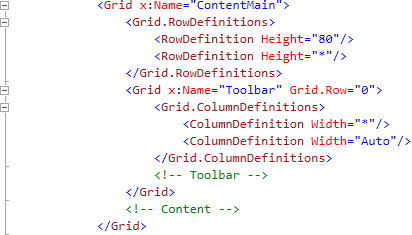
Then in XAML Pane between the <Grid x:Name="ContentGrid" Grid.Row="1"> and </Grid> lines type the following XAML:
<Grid x:Name="ContentMain">
  <Grid.RowDefinitions>
    <RowDefinition Height="80"/>
    <RowDefinition Height="*"/>
  </Grid.RowDefinitions>
  <Grid x:Name="Toolbar" Grid.Row="0">
    <Grid.ColumnDefinitions>
      <ColumnDefinition Width="*"/>
      <ColumnDefinition Width="Auto"/>
    </Grid.ColumnDefinitions>
    <!-- Toolbar -->
  </Grid>
  <!-- Content -->
</Grid>
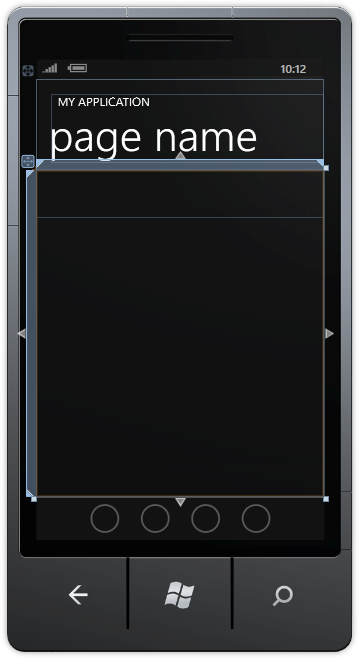
XAML:
Design:
Step 8
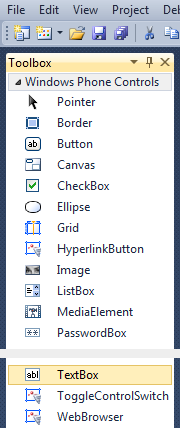
Then from the Windows Phone Controls section in the Toolbox select the TextBox control:
Step 9
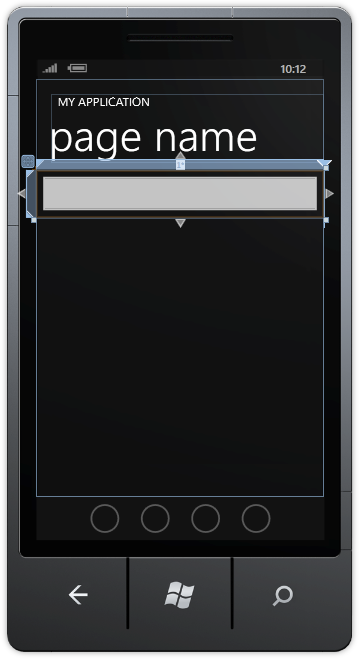
Draw a TextBox onto the Toolbar Section (upper smaller section) of the Grid on the Page, below the Page Title, and in the XAML Pane below the <!-- Toolbar --> line, change "TextBox1" to the following:
<TextBox Grid.Column="0" Name="Subject"/>
See below:
Step 10
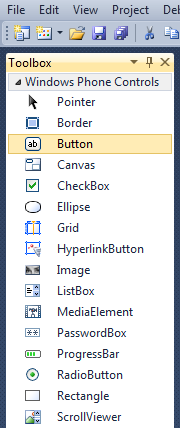
Then from the Windows Phone Controls section in the Toolbox select the Button control:
Step 11
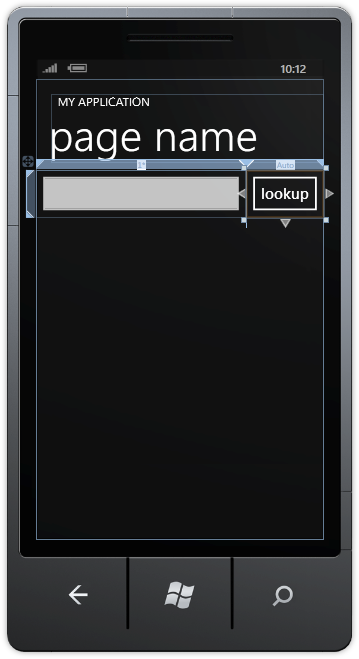
Draw a Button onto the Toolbar Section by dragging the Button from the Toolbox onto the Toolbar section of the Grid on the Page, then in the XAML Pane change the "Button1" line to the following:
<Button Grid.Column="1" Content="lookup" Click="Lookup_Click"/>
See below:
Step 12
While still in the XAML Pane for MainPage, below the <!-- Content--> line, type the following ListBox XAML:
<ListBox Grid.Row="1" Name="Results">
  <ListBox.ItemTemplate>
    <DataTemplate>
      <StackPanel Orientation="Horizontal">
        <Image Height="90" Width="90" VerticalAlignment="Top" Margin="5,5,5,5" Source="{Binding Path=Avatar}"/>
        <StackPanel Width="340">
          <TextBlock TextWrapping="Wrap" Text="{Binding Path=Title}"/>
          <TextBlock Text="{Binding Path=Published}"/>
          <TextBlock FontWeight="Bold" Text="{Binding Path=Author}"/>
        </StackPanel>
      </StackPanel>
    </DataTemplate>
  </ListBox.ItemTemplate>
</ListBox>
See below:
Step 13
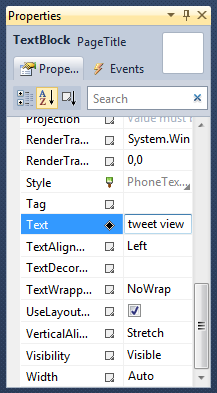
While still in the Designer View for MainPage.xaml, Select the "page name" TextBlock (PageTitle) then goto the Properties Box and change the Text property to "tweet view" without the quotes, see below:
Step 14
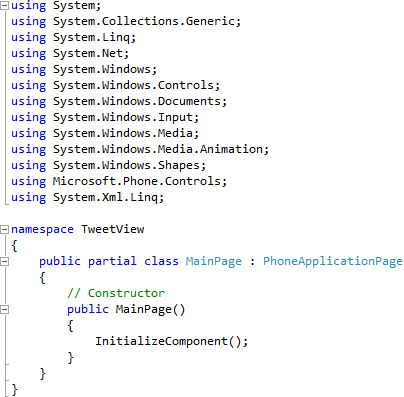
Right Click on the Page or the entry for "MainPage.xaml" in Solution Explorer and choose the "View Code" option. In the Code View above "namespace TweetView" type the following:
using System.Xml.Linq;
See Below:
Step 15
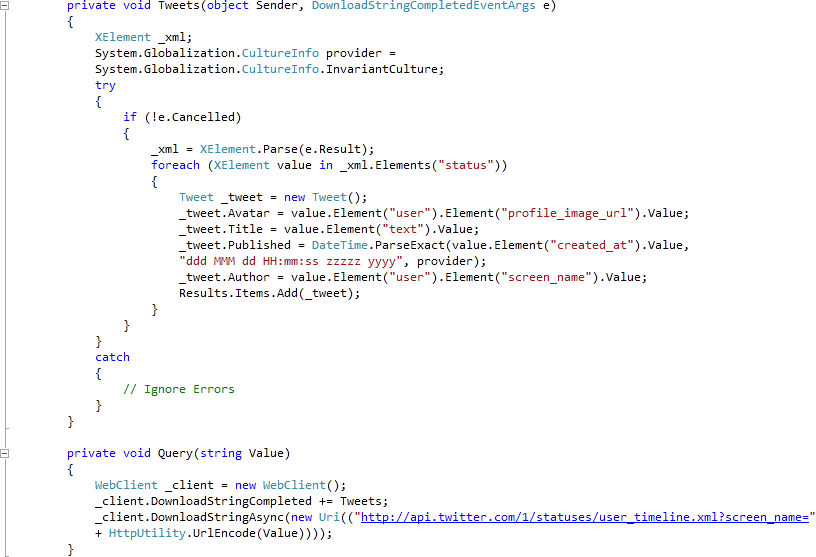
While still the Code View for MainPage.xaml.cs above "public MainPage()" type the following Methods:
private void Tweets(object Sender, DownloadStringCompletedEventArgs e)
{
  XElement _xml;
  System.Globalization.CultureInfo provider =
  System.Globalization.CultureInfo.InvariantCulture;
  try
  {
    if (!e.Cancelled)
    {
       _xml = XElement.Parse(e.Result);
      foreach (XElement value in _xml.Elements("status"))
      {
        Tweet _tweet = new Tweet();
        _tweet.Avatar = value.Element("user").Element("profile_image_url").Value;
        _tweet.Title = value.Element("text").Value;
        _tweet.Published = DateTime.ParseExact(value.Element("created_at").Value,
        "ddd MMM dd HH:mm:ss zzzzz yyyy", provider);
        _tweet.Author = value.Element("user").Element("screen_name").Value;
        Results.Items.Add(_tweet);
      }
    }
  }
  catch
  {
    // Ignore Errors
  }
}

private void Query(string Value)
{
  WebClient _client = new WebClient();
  _client.DownloadStringCompleted += Tweets;
  _client.DownloadStringAsync(new Uri(("http://api.twitter.com/1/statuses/user_timeline.xml?screen_name="
  + HttpUtility.UrlEncode(Value))));
}
See Below:
Step 16
While still the Code View for MainPage.xaml.cs above "public MainPage()" type the following Event Handler:
private void Lookup_Click(object sender, RoutedEventArgs e)
{
  Query(Subject.Text);
}
See Below:

Step 17
Save the Project as you have now finished the Windows Phone Silverlight application. Select the Windows Phone Emulator option then Select Debug then Start Debugging or click on Start Debugging:
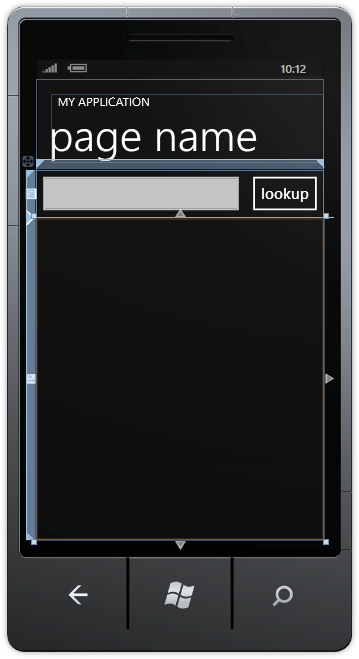
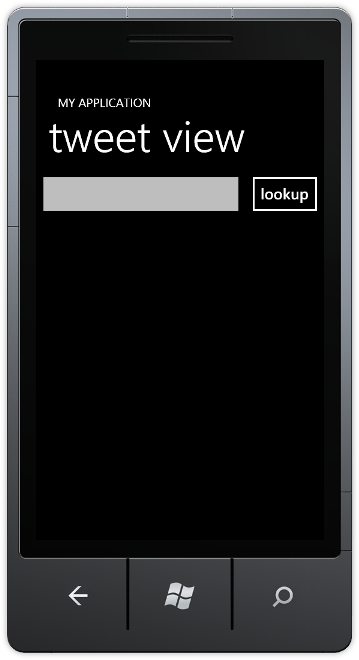
After you do, the following will appear in the Windows Phone Emulator after it has been loaded:
Step 18
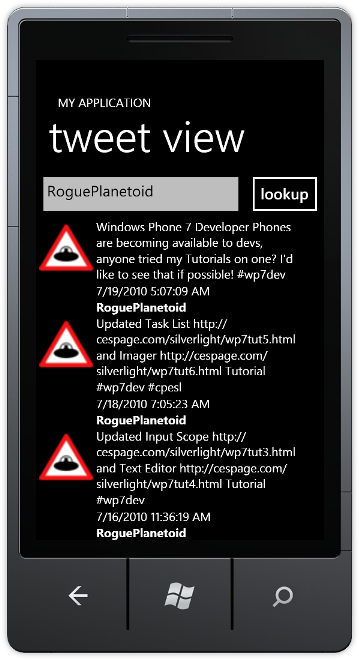
Tap the TextBox and then using the SIP or Keyboard enter a Username to lookup, then Tap on "lookup" to display their tweets, see below:
Step 19
You can then Stop the application by selecting the Visual Studio 2010 application window and clicking on the Stop Debugging button:
This is a very simple example of displaying Tweets from a Twitter® user, there is additional information from a user you can display such as the number of tweets, followers etc you can use. You can add these or further customise the interface - make it your own!