
Slide Show is a Windows Phone 7 Image Viewer with support for Play/Pause Slide Show with Playback and Speed control.
Printer Friendly Download Tutorial (1.04MB) Download Source Code (19.1KB)
Step 1
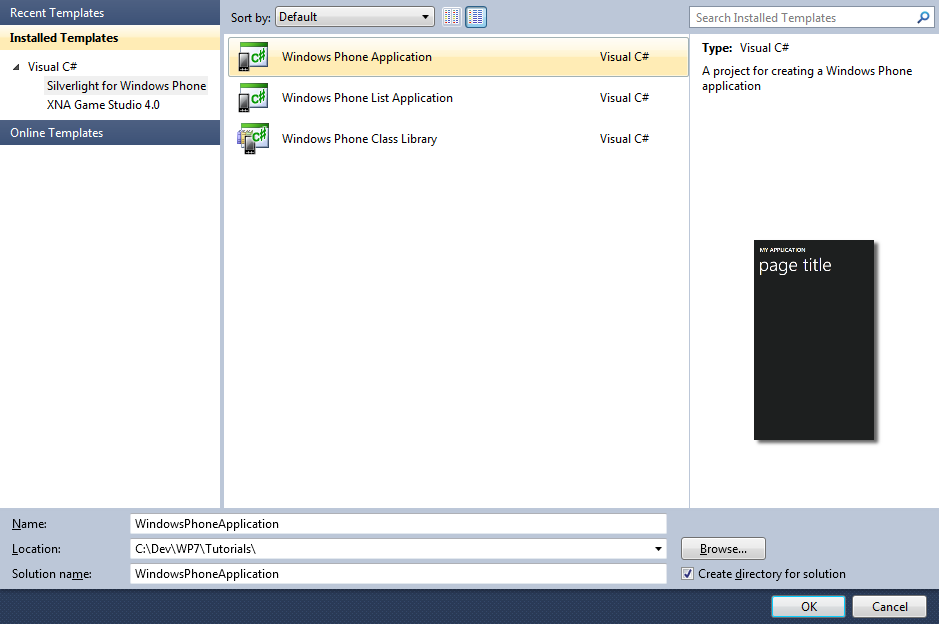
Start Microsoft Visual Studio 2010 Express for Windows Phone, then Select File then New Project... Select "Visual C#" then "Silverlight for Windows Phone" and then "Windows Phone Application" from Templates, select a Location if you wish, then enter a name for the Project and then click OK, see below:
Step 2
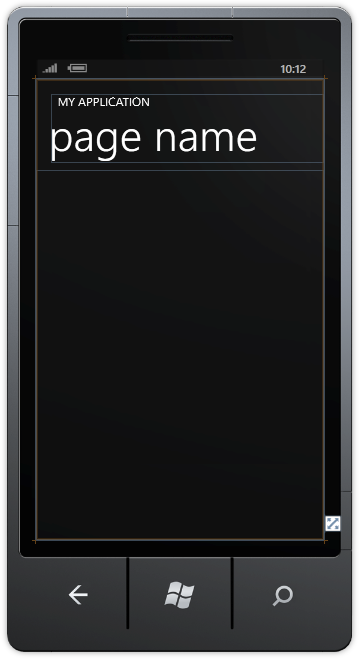
A Windows Phone application Page named MainPage.xaml should then appear, see below:
Step 3
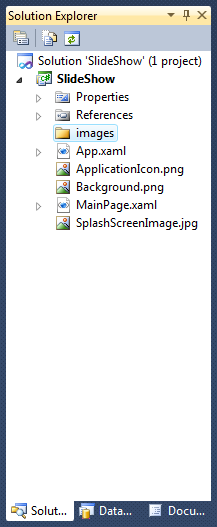
Right Click on the Entry for the Project in the Solution Explorer and choose "Add" then "New Folder", and give it the Name "images" (without quotes), see below:
Step 4
Download the following images (add.png, remove.png, play.png & stop.png) by right-clicking on the images below and choose "Save Picture As..." or "Save Image As..." and Save them to a Folder on your computer:
Step 5
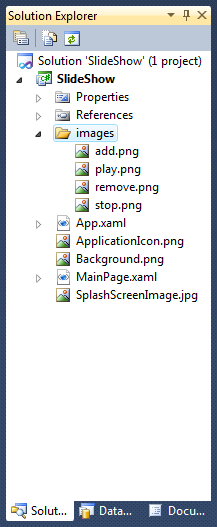
Right Click on the Entry for the "image" Folder for the Project in Solution Explorer, and choose "Add", then "Existing Item...", then in the "Add Existing Item" dialog select Folder you saved the images, then choose "Add" to add the add.png, remove.png, play.png and stop.png to the images folder in the project, see below:
Step 6
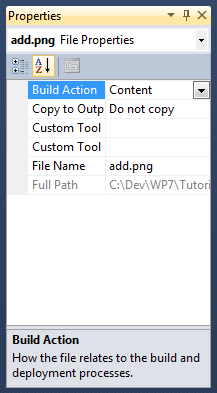
While still in the Solution Explorer click on the "add.png" image then goto the Properties box and change the Build Action to Content, do the same for the "play.png", "remove.png" and "stop.png" images, see below:
Step 7
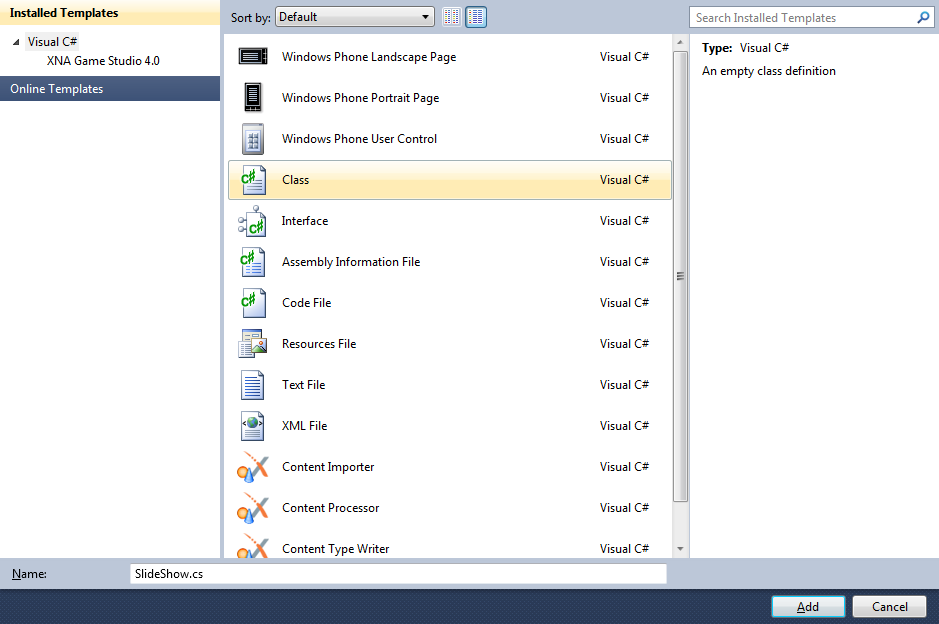
Select the SlideShow Project in the Solution Explorer then from the Menu Select Project then "Add Class...", and select the "Class" Template is not already Selected, then change the "Name" to SlideShow.cs see below:
Step 8
Add the new Class to the Project by Clicking on Add, then in the Code View for the new Class above "namespace SlideShow" type the following:
using System.Collections.Generic;
using System.Windows.Threading;
using System.Windows.Media.Imaging;
using System.IO;
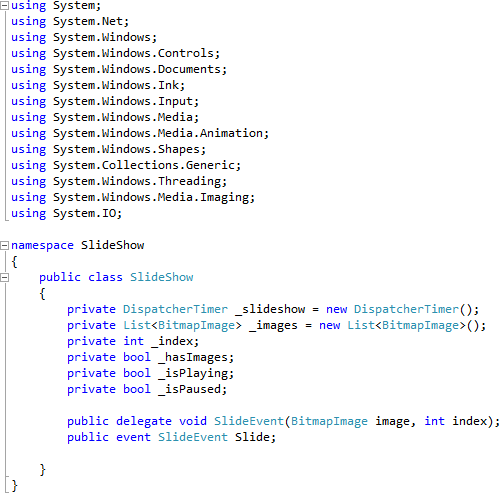
Also in the CodeView below the "{" of the line "public class SlideShow" type the following:
private DispatcherTimer _slideshow = new DispatcherTimer();
private List<BitmapImage> _images = new List<BitmapImage>();
private int _index;
private bool _hasImages;
private bool _isPlaying;
private bool _isPaused;

public delegate void SlideEvent(BitmapImage image, int index);
public event SlideEvent Slide;
See Below:
Step 9
While still in the Code View for SlideShow.cs below "public event SlideEvent Slide;" type the following Constructor and Methods:
public SlideShow()
{
  _slideshow.Interval = TimeSpan.FromSeconds(1.5);
  _slideshow.Tick += new EventHandler(SlideShow_Tick);
}

public bool Add(Uri uri)
{
  BitmapImage _image = new BitmapImage(uri);
  _images.Add(_image);
  return _hasImages = _images.Count > 0;
}

public void Remove(int index)
{
  if (index < _images.Count && index > -1)
  {
    _images.RemoveAt(index);
  }
}

public void Play()
{
  if (_hasImages && (_isPaused || !_isPlaying))
  {
    _slideshow.Start();
    _isPlaying = true;
    _isPaused = false;
  }
}

public void Pause()
{
  if (_hasImages && _isPlaying)
  {
    _slideshow.Stop();
    _isPaused = true;
    _isPlaying = false;
  }
}

public void Stop()
{
  if (_hasImages)
  {
    _index = 0;
    _slideshow.Stop();
    _isPaused = false;
    _isPlaying = false;
  }
}

public void Selected(int index)
{
  if (_hasImages && index < _images.Count)
  {
    _index = index;
    if (_isPlaying)
    {
      this.Play();
    }
  }
}
See Below:

Step 10
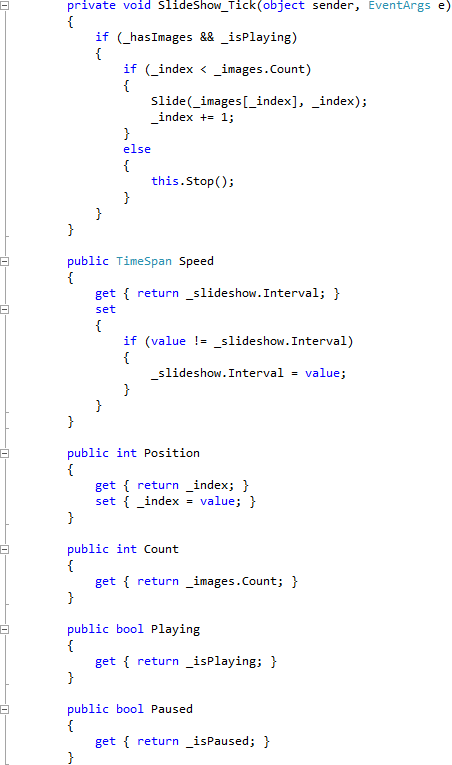
While still in the Code View for SlideShow.cs above "public SlideShow" type the following Event Handler and Properties:
private void SlideShow_Tick(object sender, EventArgs e)
{
  if (_hasImages && _isPlaying)
  {
    if (_index < _images.Count)
    {
      Slide(_images[_index], _index);
      _index += 1;
    }
    else
    {
      this.Stop();
    }
  }
}

public TimeSpan Speed
{
  get { return _slideshow.Interval; }
  set
  {
    if (value != _slideshow.Interval)
    {
      _slideshow.Interval = value;
    }
  }
}

public int Position
{
  get { return _index; }
  set { _index = value; }
}

public int Count
{
  get { return _images.Count; }
}

public bool Playing
{
  get { return _isPlaying; }
}

public bool Paused
{
  get { return _isPaused; }
}
See Below:
Step 11
Return to the MainPage Designer View by selecting the "MainPage.xaml" Tab then in the XAML Pane above the "<Grid>" Tag type the following ApplicationBar XAML:
<phone:PhoneApplicationPage.ApplicationBar>
  <shell:ApplicationBar IsVisible="True" IsMenuEnabled="False">
    <shell:ApplicationBar.Buttons>
      <shell:ApplicationBarIconButton Text="add" IconUri="/images/add.png" Click="Add_Click"/>
      <shell:ApplicationBarIconButton Text="remove" IconUri="/images/remove.png" Click="Remove_Click"/>
      <shell:ApplicationBarIconButton Text="play" IconUri="/images/play.png" Click="Play_Click"/>
      <shell:ApplicationBarIconButton Text="stop" IconUri="/images/stop.png" Click="Stop_Click"/>
    </shell:ApplicationBar.Buttons>
  </shell:ApplicationBar>
</phone:PhoneApplicationPage.ApplicationBar>
See below:

Step 12
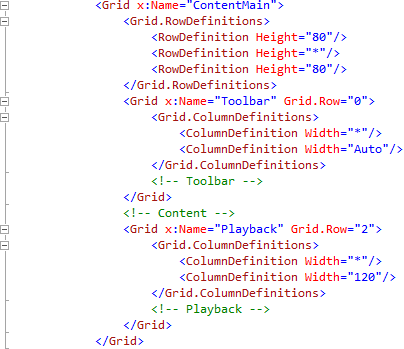
While still in the in XAML Pane between the <Grid x:Name="ContentGrid" Grid.Row="1"> and </Grid> lines type the following XAML:
<Grid x:Name="ContentMain">
  <Grid.RowDefinitions>
    <RowDefinition Height="80"/>
    <RowDefinition Height="*"/>
    <RowDefinition Height="80"/>
  </Grid.RowDefinitions>
  <Grid x:Name="Toolbar" Grid.Row="0">
    <Grid.ColumnDefinitions>
      <ColumnDefinition Width="*"/>
      <ColumnDefinition Width="Auto"/>
    </Grid.ColumnDefinitions>
    <!-- Toolbar -->
  </Grid>
  <!-- Content -->
  <Grid x:Name="Playback" Grid.Row="2">
    <Grid.ColumnDefinitions>
      <ColumnDefinition Width="*"/>
      <ColumnDefinition Width="120"/>
    </Grid.ColumnDefinitions>
    <!-- Playback -->
  </Grid>
</Grid>
XAML:
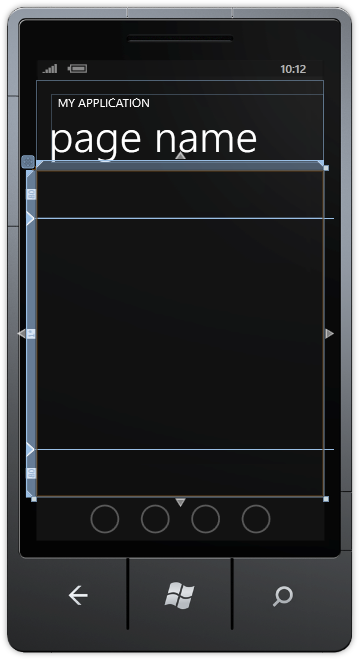
Design:
Step 13
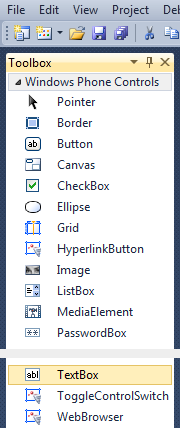
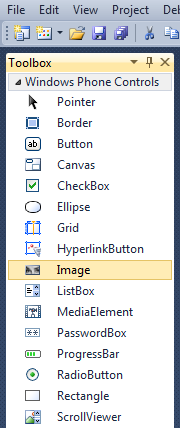
Then from the Windows Phone Controls section in the Toolbox select the TextBox control:
Step 14
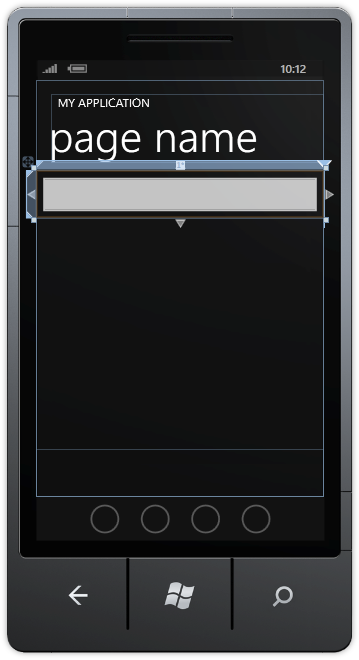
Draw a TextBox onto the Toolbar Section (upper smaller section) of the Grid on the Page, below the Page Title, and in the XAML Pane below the <!-- Toolbar --> line, change "TextBox1" to the following:
<TextBox Grid.Column="0" Name="Location">
  <TextBox.InputScope>
    <InputScope>
      <InputScopeName NameValue="Url"/>
    </InputScope>
  </TextBox.InputScope>
</TextBox>
See below:
Step 15
Then from the Windows Phone Controls section in the Toolbox select the Button control:
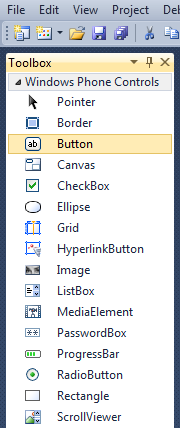
Step 16
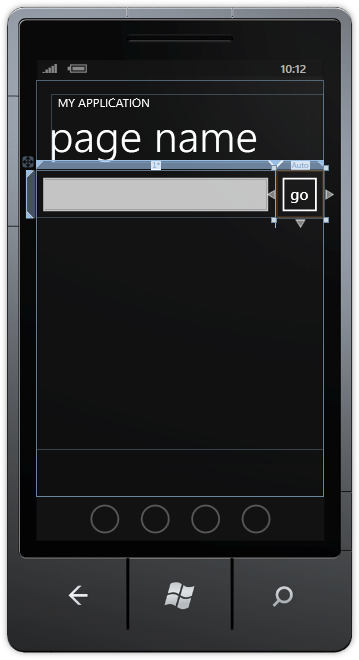
Draw a Button onto the Toolbar Section by dragging the Button from the Toolbox onto the Toolbar section of the Grid on the Page, then in the XAML Pane change the "Button1" line to the following:
<Button Grid.Column="1" Content="go" Click="Go_Click"/>
See below:
Step 17
Then from the Windows Phone Controls section in the Toolbox select the Slider control:
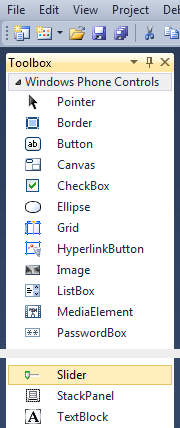
Step 18
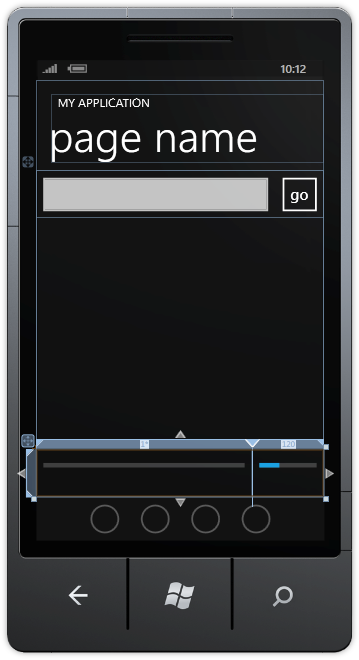
Draw two Sliders on the Playback Section (the lower smaller section) of the Grid on the Page by dragging the Sliders from the Toolbox onto the Playback section of the Page, then in the XAML pane change the "<Slider>" lines to the following:
<Slider Grid.Column="0" Minimum="0" Name="Position"
ValueChanged="Position_ValueChanged"/>
<Slider Grid.Column="1" Minimum="100" Maximum="5000" Value="1500"
Name="Speed" ValueChanged="Speed_ValueChanged"/>
See below:
Step 19
Then from the Windows Phone Controls section in the Toolbox select the Image control:
Step 20
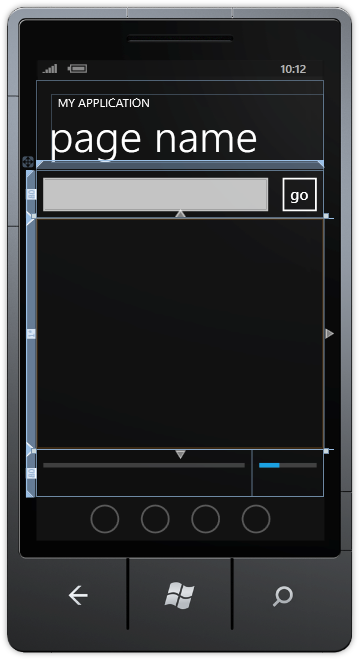
Draw an Image on the largest section of the Grid on the Page (Content) by dragging an Image onto the Content section of the Page then in the XAML Pane change the "<Image>" line to the following:
<Image Grid.Row="1" Stretch="Uniform" Name="Display"/>
See below:
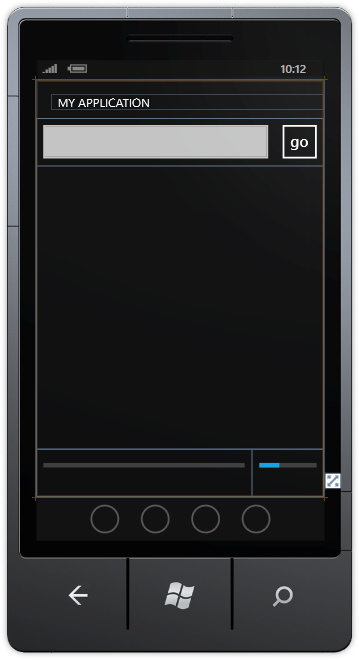
Step 21
While still in the Designer View for MainPage.xaml, Select the "Page Name" TextBlock (PageTitle) and then Delete or Right-Click and Choose the Delete option so the MainPage.xaml appears as below:
Step 22
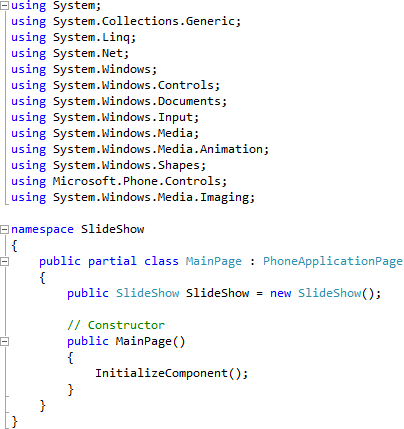
Right Click on the Page or the entry for "MainPage.xaml" in Solution Explorer and choose the "View Code" option. In the Code View above "namespace mPlayer" type the following:
using System.Windows.Media.Imaging;
Also in the CodeView above "public MainPage()" type the following declarations:
public SlideShow SlideShow = new SlideShow();
See Below:
Step 23
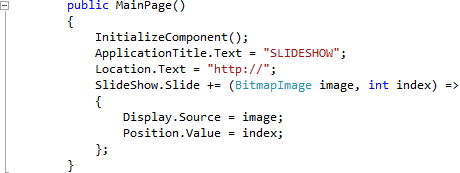
While still in the Code View for MainPage.xaml.cs in the "public MainPage()" Constructor below "InitializeComponent();" type the following:
ApplicationTitle.Text = "SLIDESHOW";
Location.Text = "http://";
SlideShow.Slide += (BitmapImage image, int index) =>
{
  Display.Source = image;
  Position.Value = index;
};
See Below:
Step 24
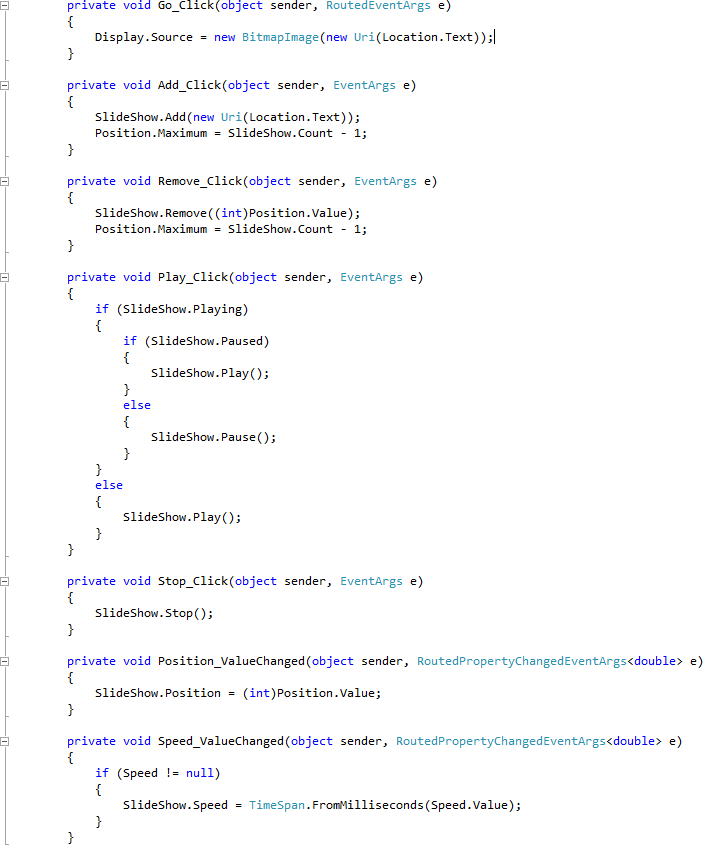
While still the Code View for MainPage.xaml.cs above "public MainPage()" type the following Event Handlers:
private void Go_Click(object sender, RoutedEventArgs e)
{
  Display.Source = new BitmapImage(new Uri(Location.Text));
}

private void Add_Click(object sender, EventArgs e)
{
  SlideShow.Add(new Uri(Location.Text));
  Position.Maximum = SlideShow.Count - 1;
}

private void Remove_Click(object sender, EventArgs e)
{
  SlideShow.Remove((int)Position.Value);
  Position.Maximum = SlideShow.Count - 1;
}

private void Play_Click(object sender, EventArgs e)
{
  if (SlideShow.Playing)
  {
    if (SlideShow.Paused)
    {
      SlideShow.Play();
    }
    else
    {
      SlideShow.Pause();
    }
  }
  else
  {
    SlideShow.Play();
  }
}

private void Stop_Click(object sender, EventArgs e)
{
  SlideShow.Stop();
}

private void Position_ValueChanged(object sender, RoutedPropertyChangedEventArgs<double> e)
{
  SlideShow.Position = (int)Position.Value;
}

private void Speed_ValueChanged(object sender, RoutedPropertyChangedEventArgs<double> e)
{
  if (Speed != null)
  {
    SlideShow.Speed = TimeSpan.FromMilliseconds(Speed.Value);
  }
}
See Below:
Step 25
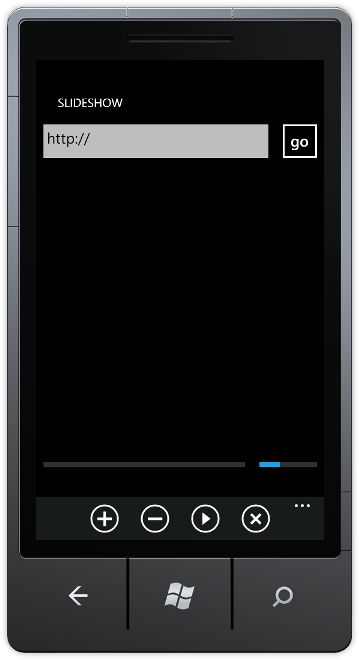
Save the Project as you have now finished the Windows Phone Silverlight application. Select the Windows Phone Emulator option then Select Debug then Start Debugging or click on Start Debugging:
After you do, the following will appear in the Windows Phone Emulator after it has been loaded:
Step 26
Tap the TextBox and enter in the web address of an Image such as http://cespage.com/phone.jpg then click on the "go" button, when loaded you can "add" this to the SlideShow with the "+" button, you can add multiple images to make up a slide show, see below:

Step 27
You can then Stop the application by selecting the Visual Studio 2010 application window and clicking on the Stop Debugging button:
This is a simple Slide Show, you can keep adding images or remove a selected one with the "-" button, try adding your own features such as Animations or Transitions between Images - make it your own!
![]()


