This Tutorial will show you how to make a simple Drawing Package using a Picture Box on a Form.
Printer Friendly Download Tutorial (38.7KB) Download Source Code (7KB)
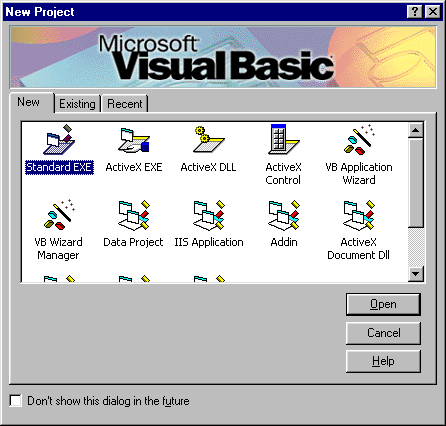
Step 1
Load Microsoft Visual Basic, then select Standard EXE Project if VB5/6, click on the option then click Open, see below:
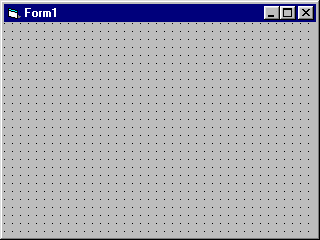
Step 2
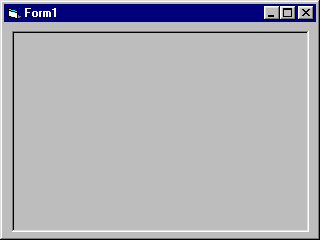
A Blank Form named Form1 should then appear, see below:
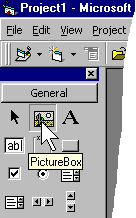
Step 3
Then from the Visual Basic Components Menu Select the Picture Box Control:
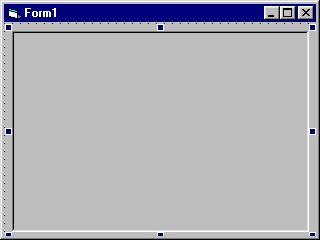
Step 4
Draw a Picture Box on the Form, see below:
Step 5
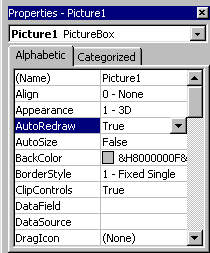
Then go to the Properties box and change the AutoRedraw Property to True, see below:
Step 6
Double Click on the PictureBox (Picture1) and type in the Picture1_MouseDown() Sub:
Picture1.CurrentX = X
Picture1.CurrentY = Y
Step 7
Double Click on the PictureBox (Picture1) and type in the Picture1_MouseMove() Sub:
If Button = 1 Then
  Picture1.Line (Picture1.CurrentX, Picture1.CurrentY)-(X, Y), vbBlack
End If
Step 8
Save the Project (for example prjDrawing) into a vacant folder as you have finished the application. Click on Start / Run
![]() or Press F5 and the below will appear:
or Press F5 and the below will appear:
Step 9
Now place the Mouse Cursor over the Picture Box (the recessed area), press the Left Mouse Button and move it about, or try an write something, see below:

Step 10
Just Click the X in the Corner and/or End / Stop
![]() the application.
the application.
This is a very simple Drawing Package, Try changing the DrawWidth Property of the Picture Box to get a Thicker line, or the Colour by using another vbColour e.g. vbBlue or vbRed!