This is a simple program, which will introduce you to ActiveX Controls, Functions, Properties, Methods and the Win32 API.
Printer Friendly Download Tutorial (103KB) Download Source Code (7KB)
Step 1
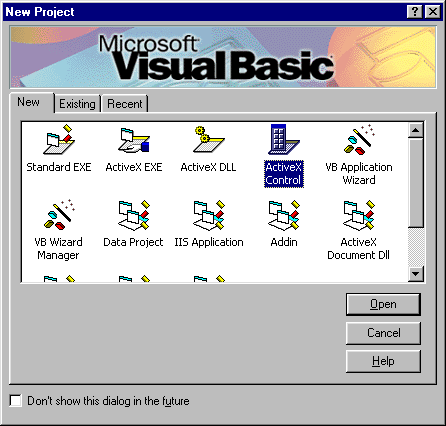
Load Microsoft Visual Basic, then select ActiveX Control Project (must be VB5 or later), click on the option then click Open, see below:
Step 2
A Blank UserControl named UserControl1 should then appear, see below:

Step 3
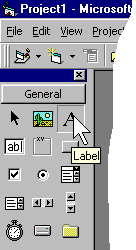
Then from the Visual Basic Components Menu Select the Label Control:
Step 4
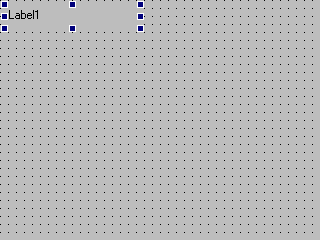
Draw a Label on the UserControl as shown below:
Step 5
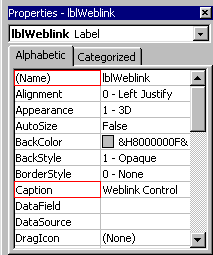
Change the name of Label1 to lblWeblink and the Caption to Weblink Control see below:
Step 6
On the Visual Basic Menu Bar select Add-Ins | Add-in Manager..., select the VB ActiveX Control Interface Wizard, see below:
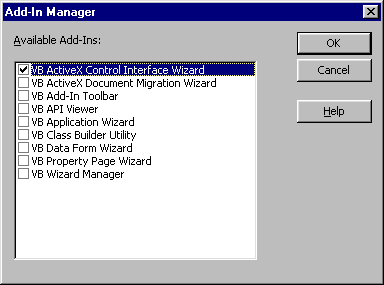
Step 7
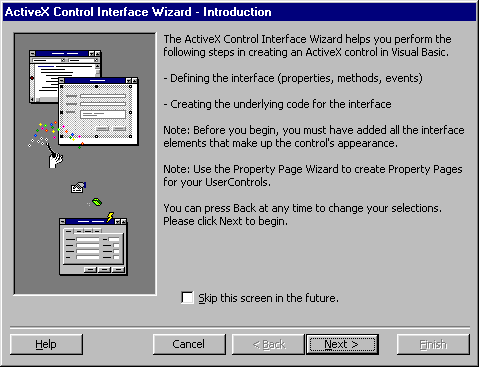
Click on Ok then Select Add-Ins | ActiveX Control Interface Wizard... from the Visual Basic menu and a Wizard Dialog should appear, see below:
Step 8
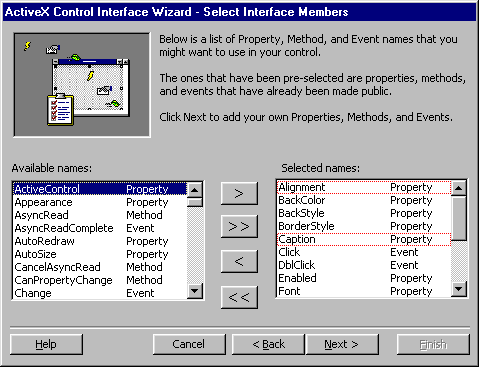
Click on Next and the Select Interface Members stage should appear, in the Available Names Listbox add using the > Button the Alignment and Caption Property to the Selected Names Listbox, see below:
Step 9
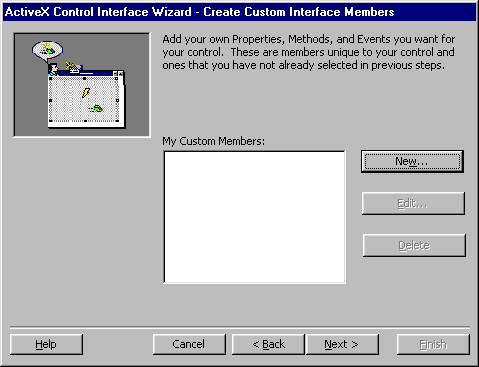
Click on Next and the Create Custom Interface Members stage should appear, see below:
Step 10
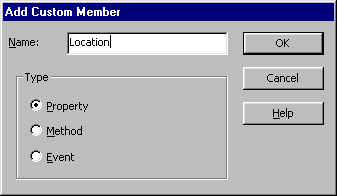
Click on New... for the Add Custom Member Dialog, then type in the Name Text Box: Location and select the Property Option from the Type Radio Buttons and Click on Ok, see below:
Step 11
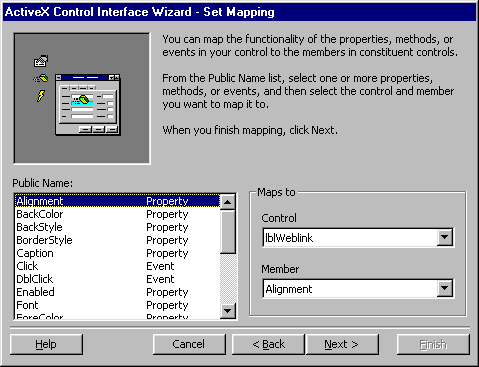
Click on Next for the Set Mapping Stage and change the Maps To Control Combobox selection to lblWeblink for all Properties/Events/Methods except the Location Property, see below:
Step 12
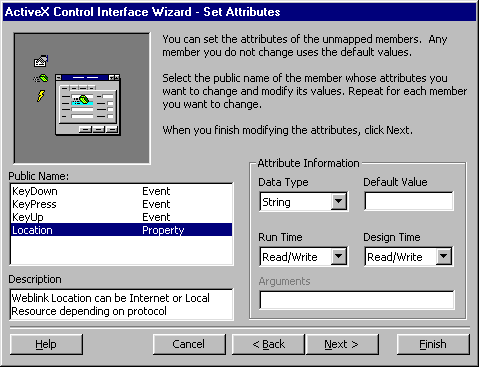
Click on Next for the Set Attributes Stage and Select the Location Property from the Public Name Listbox and change the Attribute Information for Data Type to String and type in a meaningful Description, see below:
Step 13
Click on Next and then Finish to create the items selected in the Wizard a Summary Report will also be created, it is recommended that you read this for extra ActiveX information.
Step 14
Double Click on the UserControl and at the bottom of the General Declarations Section type in:
Private Declare Function ShellExecute Lib "shell32.dll" Alias
"ShellExecuteA" (ByVal hWnd As Long, ByVal lpOperation As String, ByVal
lpFile As String, ByVal lpParameters As String, ByVal lpDirectory As String,
ByVal nShowCmd As Long) As Long

Public Function HyperJump(ByVal URL As String) As Long
  On Error Resume Next
  HyperJump = ShellExecute(0&, vbNullString, URL, vbNullString, vbNullString, vbNormalFocus)
End Function
Step 15
Double Click on the UserControl and type in the UserControl_Resize() Sub:
' Move to 0,0 and resize lblWeblink to control size
lblWeblink.Top = 0
lblWeblink.Left = 0
lblWeblink.Width = UserControl.Width
lblWeblink.Height = UserControl.Height
lblWeblink.FontUnderline = True
Step 16
Double Click on the Label "Weblink Control" (lblWeblink) and type in the cmdWeblink_Click() Sub (remove the RaiseEvent Click line):
HyperJump (m_Location)
Step 17
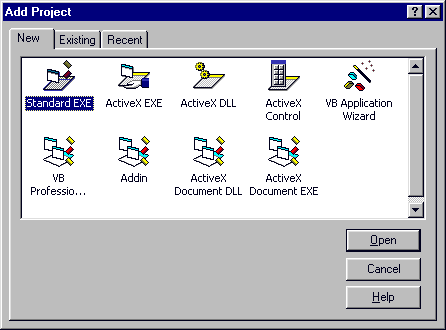
Close the UserControl Window (click on the X in the Top Right Corner), then select File | Add Project... from the Visual Basic menu then add a Standard EXE Project, see below:
Step 18
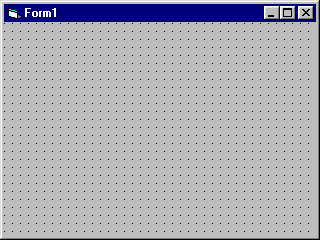
A Blank Form named Form1 should then appear, see below:
Step 19
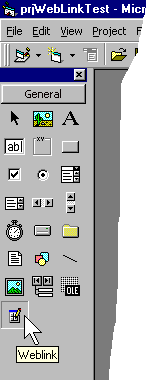
Then from the Visual Basic Components Menu Select the Weblink Control:
Step 20
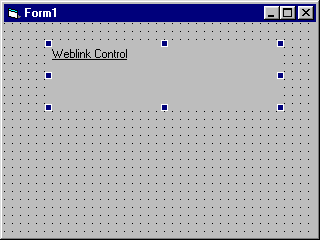
Draw a Weblink on the Form as shown below:
Step 21
Double Click on the Form (Form1) and type in the Form_Load Sub:
Weblink1.Caption = "Windows Folder"
Weblink1.ForeColor = vbBlue
Weblink1.Location = "file://c:\windows"
Step 22
Save the Project (for example prjWeblink [ActiveX], prjWebLinkTest [Test Project] and grpWeblinkControl [Project Group]) into a vacant folder as you have finished the application.
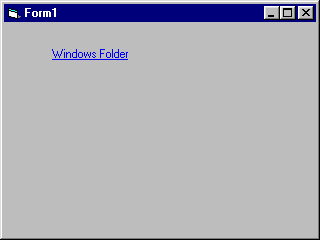
Click on Start / Run ![]() or Press F5 and the below will appear:
or Press F5 and the below will appear:
Step 23
Click on the Blue Hyperlink style Text to Open the Windows Folder or whatever the Location property is set to. To Quit click the X Button on the Top Right of the Form.
You have just created a simple ActiveX control using the Interface Wizard and Win32 API. Try adding extra properties such as FontUnderline and see what else you can achieve with this program.

