Audio Recorder is a simple Sound Recorder using the AudioCaptureDevice and CaptureSource support in Silverlight 4, recordings can be saved as a PCM Wave File using an AudioSink object.
Printer Friendly Download Tutorial (344KB) Download Source Code (7.87KB) Online Demonstration
Step 1
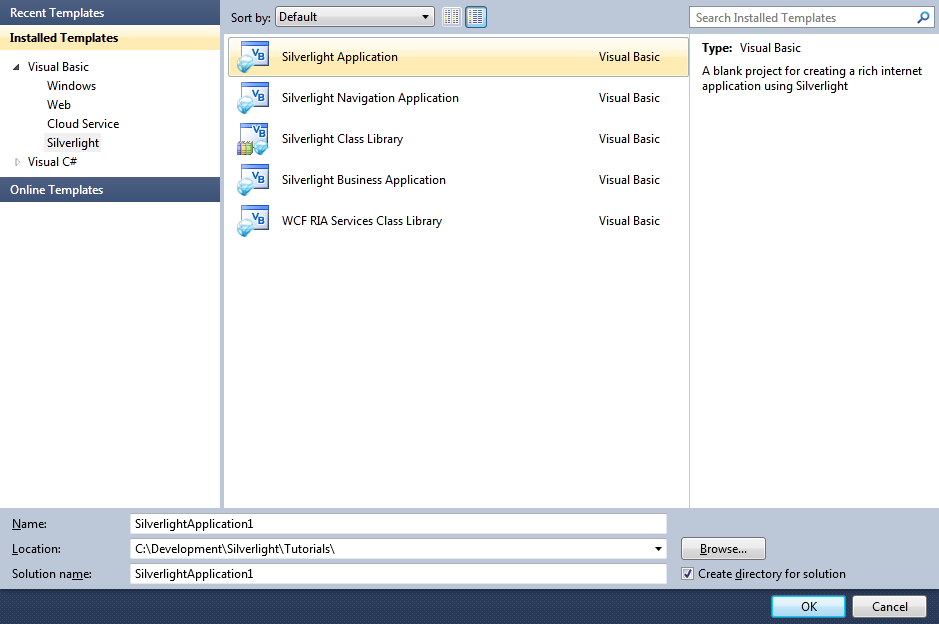
Start Microsoft Visual Web Developer 2010 Express, then Select File then New Project... Select "Visual Basic" then "Silverlight Application" from Templates, select a Location if you wish, then enter a name for the Project and then click OK, see below:
Step 2
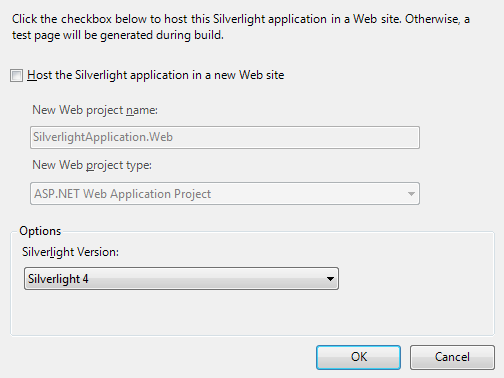
New Silverlight Application window should appear, uncheck the box "Host the Silverlight Application in a new Web site" and then select the required Silverlight Version, see below:
Step 3
A Blank Page named MainPage.xaml should then appear, see below:
Step 4
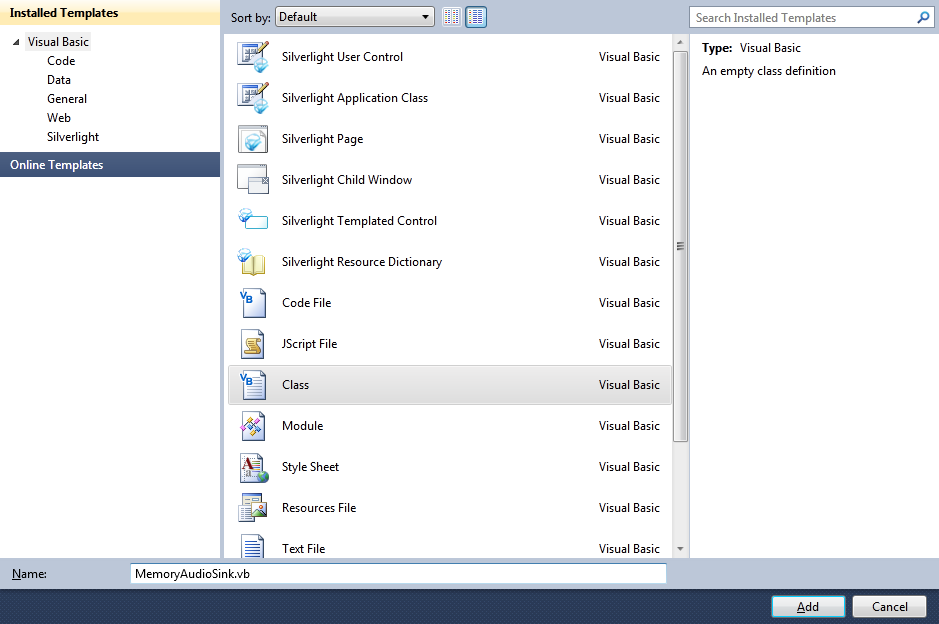
Select Project then "Add Class...", and select the "Class" Template if not already Selected, then change the "Name" to MemoryAudioSink.vb , see below:
Step 5
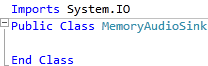
Add the new Class to the Project by Clicking on Add, then in the Code View for the MemoryAudioSink.vb Class, above the "Public Class MemoryAudioSink" line type the following:
Imports System.IO
See Below:
Step 6
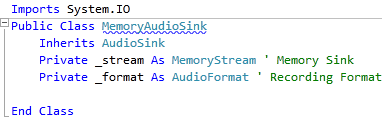
While still in the Code View for the MemoryAudioSink.vb Class, below the "Public Class MemoryAudioSink" line type the following:
  Inherits AudioSink
Private _stream As MemoryStream ' Memory Sink
Private _format As AudioFormat ' Recording Format
See Below:
Step 7
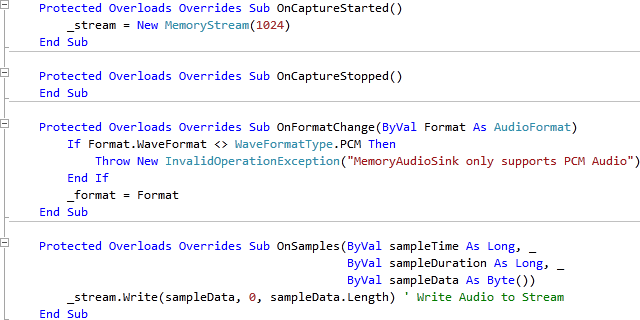
While still in the Code View for the MemoryAudioSink Class, above the "End Class" for "Public Class MemoryAudioSink", type the following Subs:
Protected Overloads Overrides Sub OnCaptureStarted()
  _stream = New MemoryStream(1024)
End Sub

Protected Overloads Overrides Sub OnCaptureStopped()
End Sub

Protected Overloads Overrides Sub OnFormatChange(ByVal Format As AudioFormat)
  If Format.WaveFormat <> WaveFormatType.PCM Then
    Throw New InvalidOperationException("MemoryAudioSink only supports PCM Audio")
  End If
  _format = Format
End Sub

Protected Overloads Overrides Sub OnSamples(ByVal sampleTime As Long, _
    ByVal sampleDuration As Long, _
    ByVal sampleData As Byte())
  _stream.Write(sampleData, 0, sampleData.Length) ' Write Audio to Stream
End Sub
See Below:
Step 8
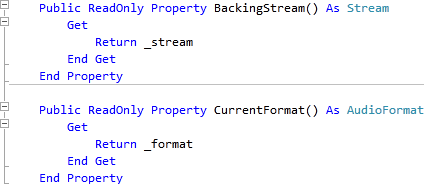
While still in the Code View for the MemoryAudioSink Class, above the "End Class" for "Public Class MemoryAudioSink", type the following Properties:
Public ReadOnly Property BackingStream() As Stream
  Get
    Return _stream
  End Get
End Property

Public ReadOnly Property CurrentFormat() As AudioFormat
  Get
    Return _format
  End Get
End Property
See Below:
Step 9
Return to the MainPage Designer View by selecting the "MainPage.xaml" Tab.
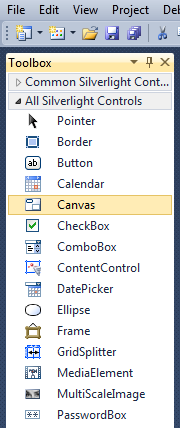
Then from the All Silverlight Controls section in the Toolbox select the Canvas control:
Step 10
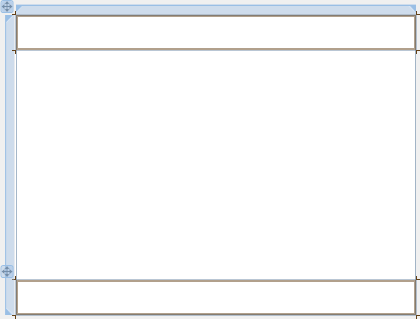
Draw a Two Canvases on the Page then in the XAML Pane above the "</Grid>" then change the "<Canvas>" lines to the following:
<Canvas Height="35" Width="400" VerticalAlignment="Top" HorizontalAlignment="Left" Name="Toolbar"></Canvas>
<Canvas Height="35" Width="400" Margin="0,265,0,0" VerticalAlignment="Top" HorizontalAlignment="Left" Name="StatusBar"></Canvas>
See below:
Step 11
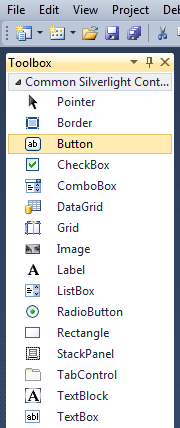
Then from the Common Silverlight Controls section in the Toolbox select the Button control:
Step 12
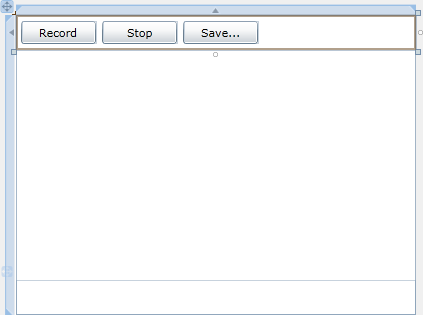
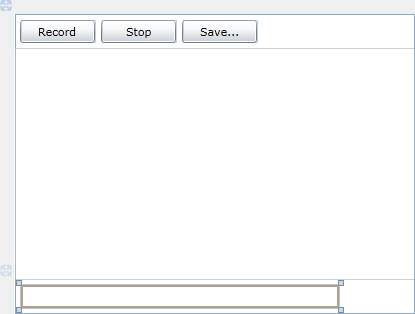
Draw Three Buttons on the "Toolbar" Canvas by dragging the Buttons from the Toolbox onto the Canvas then in the XAML Pane inbetween the "<Canvas>" and "</Canvas>" tags change the "<Button>" lines to the following:
<Button Canvas.Left="6" Canvas.Top="6" Height="23" Width="75" Name="Record" Content="Record"/>
<Button Canvas.Left="87" Canvas.Top="6" Height="23" Width="75" Name="Stop" Content="Stop"/>
<Button Canvas.Left="168" Canvas.Top="6" Height="23" Width="75" Name="Save" Content="Save..."/>
See below:
Step 13
Then from the Common Silverlight Controls section in the Toolbox select the TextBlock control:
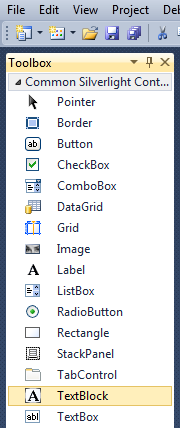
Step 14
Draw a TextBlock onto the Lower Canvas (StatusBar) and change the <TextBlock> line to the following:
<TextBlock Canvas.Left="6" Canvas.Top="6" Height="23" Width="318" FontSize="16" Name="Status"/>
See below:
Step 15
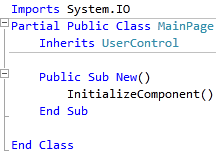
Right Click on the Page or the entry for "MainPage.xaml" in Solution Explorer and choose the "View Code" option. In the Code View above the "Partial Public Class MainPage" line type the following:
Imports System.IO
See Below:
Step 16
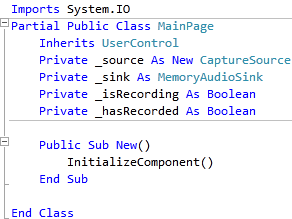
While still in the Code View for MainPage.xaml, below the "Inherits UserControl" line type the following:
Private _source As New CaptureSource
Private _sink As MemoryAudioSink
Private _isRecording As Boolean
Private _hasRecorded As Boolean
See Below:
Step 17
While still in the Code View, in the "Public Sub New()" constructor below the "InitializeComponent()" line type the following:
_source.AudioCaptureDevice = CaptureDeviceConfiguration.GetDefaultAudioCaptureDevice
See Below:

Step 18
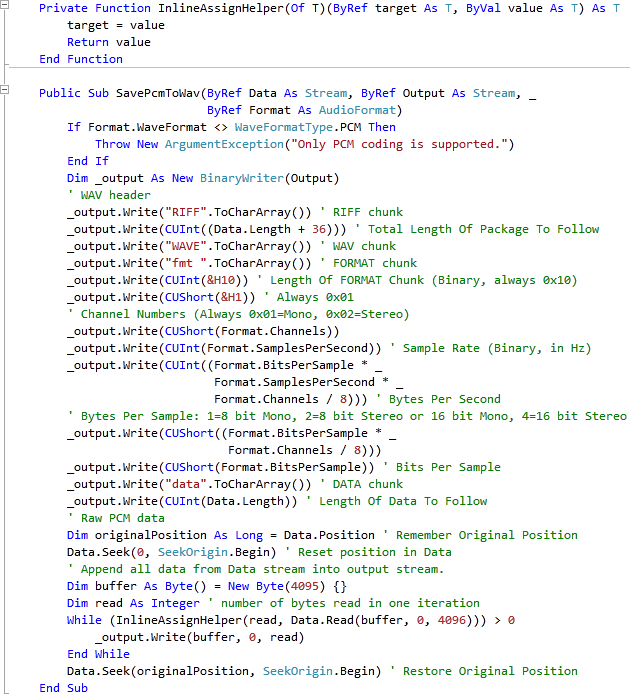
While still in the Code View, below the "End Sub" for "Public Sub New()" Constructor type the following Function and Sub:
Private Function InlineAssignHelper(Of T)(ByRef target As T, ByVal value As T) As T
  target = value
  Return value
End Function

Public Sub SavePcmToWav(ByRef Data As Stream, ByRef Output As Stream, _
    ByRef Format As AudioFormat)
  If Format.WaveFormat <> WaveFormatType.PCM Then
    Throw New ArgumentException("Only PCM coding is supported.")
  End If
  Dim _output As New BinaryWriter(Output)
  ' WAV header
  _output.Write("RIFF".ToCharArray()) ' RIFF chunk
  _output.Write(CUInt((Data.Length + 36))) ' Total Length Of Package To Follow
  _output.Write("WAVE".ToCharArray()) ' WAV chunk
  _output.Write("fmt ".ToCharArray()) ' FORMAT chunk
  _output.Write(CUInt(&H10)) ' Length Of FORMAT Chunk (Binary, always 0x10)
  _output.Write(CUShort(&H1)) ' Always 0x01
  ' Channel Numbers (Always 0x01=Mono, 0x02=Stereo)
  _output.Write(CUShort(Format.Channels))
  _output.Write(CUInt(Format.SamplesPerSecond)) ' Sample Rate (Binary, in Hz)
  _output.Write(CUInt((Format.BitsPerSample * _
  Format.SamplesPerSecond * _
    Format.Channels / 8))) ' Bytes Per Second
  ' Bytes Per Sample: 1=8 bit Mono, 2=8 bit Stereo or 16 bit Mono, 4=16 bit Stereo
  _output.Write(CUShort((Format.BitsPerSample * _
    Format.Channels / 8)))
  _output.Write(CUShort(Format.BitsPerSample)) ' Bits Per Sample
  _output.Write("data".ToCharArray()) ' DATA chunk
  _output.Write(CUInt(Data.Length)) ' Length Of Data To Follow
  ' Raw PCM data
  Dim originalPosition As Long = Data.Position ' Remember Original Position
  Data.Seek(0, SeekOrigin.Begin) ' Reset position in Data
  ' Append all data from Data stream into output stream.
  Dim buffer As Byte() = New Byte(4095) {}
  Dim read As Integer ' number of bytes read in one iteration
  While (InlineAssignHelper(read, Data.Read(buffer, 0, 4096))) > 0
    _output.Write(buffer, 0, read)
  End While
  Data.Seek(originalPosition, SeekOrigin.Begin) ' Restore Original Position
End Sub
See Below:
Step 19
Return to the Designer View by selecting the "MainPage.xaml" Tab, or Right Click on the Page or the Entry for "MainPage.xaml" in Solution Explorer and choose the "View Designer" option.
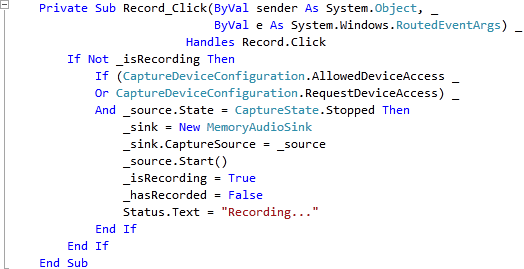
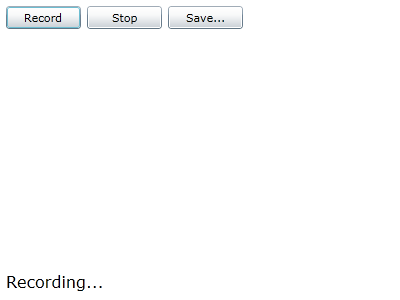
Double Click on the "Record" Button and type in the Record_Click Sub:
If Not _isRecording Then
  If (CaptureDeviceConfiguration.AllowedDeviceAccess _
      Or CaptureDeviceConfiguration.RequestDeviceAccess) _
      And _source.State = CaptureState.Stopped Then
    _sink = New MemoryAudioSink
    _sink.CaptureSource = _source
    _source.Start()
    _isRecording = True
    _hasRecorded = False
    Status.Text = "Recording..."
  End If
End If
See Below:
Step 20
Return to the Designer View by selecting the "MainPage.xaml" Tab, or Right Click on the Page or the Entry for "MainPage.xaml" in Solution Explorer and choose the "View Designer" option.
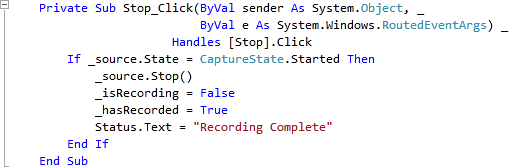
Double Click on the "Stop" Button and type in the Stop_Click Sub:
If _source.State = CaptureState.Started Then
  _source.Stop()
  _isRecording = False
  _hasRecorded = True
  Status.Text = "Recording Complete"
End If
See Below:
Step 21
Return to the Designer View by selecting the "MainPage.xaml" Tab, or Right Click on the Page or the Entry for "MainPage.xaml" in Solution Explorer and choose the "View Designer" option.
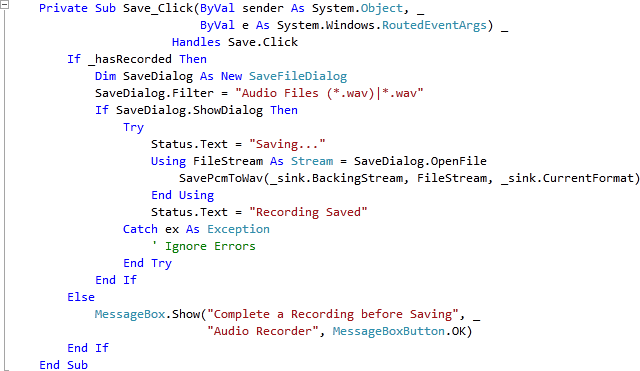
Double Click on the "Save..." Button Control and type in the Save_Click Sub:
If _hasRecorded Then
  Dim SaveDialog As New SaveFileDialog
  SaveDialog.Filter = "Audio Files (*.wav)|*.wav"
  If SaveDialog.ShowDialog Then
    Try
      Status.Text = "Saving..."
      Using FileStream As Stream = SaveDialog.OpenFile
        SavePcmToWav(_sink.BackingStream, FileStream, _sink.CurrentFormat)
      End Using
      Status.Text = "Recording Saved"
    Catch ex As Exception
      ' Ignore Errors
    End Try
  End If
Else
  MessageBox.Show("Complete a Recording before Saving", _
    "Audio Recorder", MessageBoxButton.OK)
End If
See Below:
Step 22
Save the Project as you have now finished the Silverlight application. Select Debug then Start Debugging or click on Start Debugging:
After you do, the following will appear in a new Web Browser window:
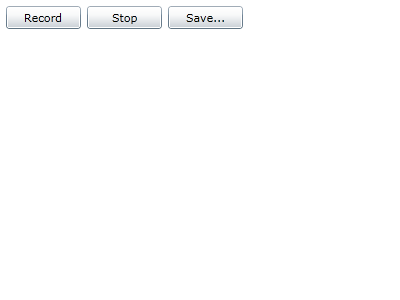
Step 23
Click on "Record", a dialog will appear saying "Do you want to allow camera and microphone access?", select "Yes" and Recording should begin, when finished click Stop then Save your Recording, see below:
Step 24
Close the Application and Browser window by clicking on the Close Button ![]() on
the top right of the Application Window and Web Browser to Stop the application.
on
the top right of the Application Window and Web Browser to Stop the application.
This was a simple Audio or Microphone-based application, it could also show more visual indications of a Recording in progress between the Toolbar and Statusbar, it is up to you!
If you could not get your Audio feed to work try Right Clicking on the Silverlight application, click the "Silverlight" option, then select the Webcam / Mic Tab to choose your Microphone as the Default Audio Source.
![]()