Create a simple Dice game with this Tutorial using Random Numbers, Functions all based using Silverlight.
Printer Friendly Download Tutorial (191KB) Download Source Code (6.37KB) Online Demonstration
Step 1
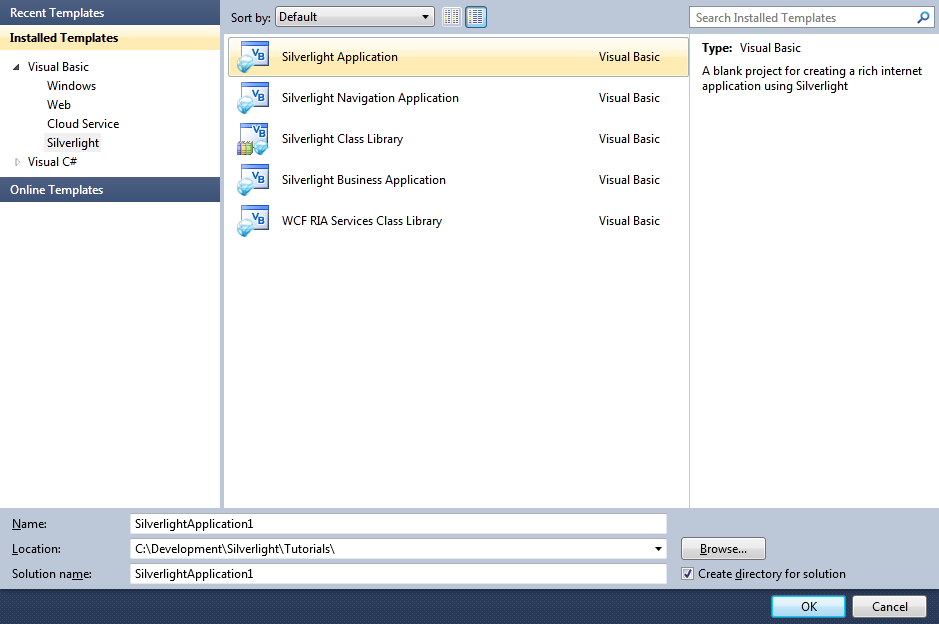
Start Microsoft Visual Web Developer 2010 Express, then Select File then New Project... Select "Visual Basic" then "Silverlight Application" from Templates, select a Location if you wish, then enter a name for the Project and then click OK, see below:
Step 2
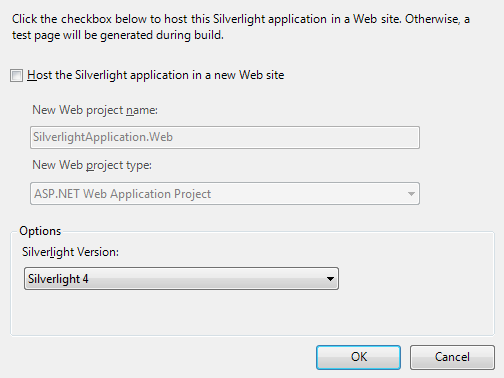
New Silverlight Application window should appear, uncheck the box "Host the Silverlight Application in a new Web site" and then select the required Silverlight Version, see below:
Step 3
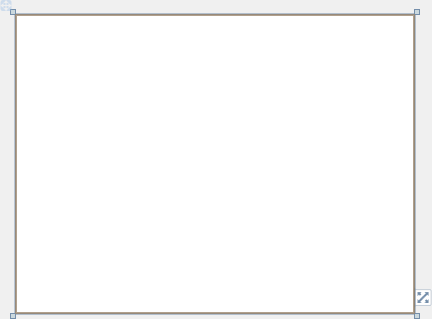
A Blank Page named MainPage.xaml should then appear, see below:
Step 4
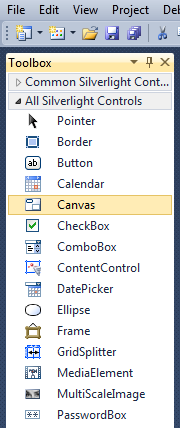
Then from the All Silverlight Controls section in the Toolbox select the Canvas control:
Step 5
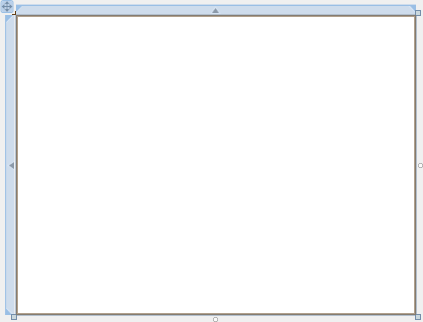
Draw a Canvas that fill the whole Page or in the XAML Pane between the "<Grid>" and "</Grid>" lines type the following XAML:
<Canvas Height="300" Width="400" HorizontalAlignment="Left" VerticalAlignment="Top" Name="Page">
</Canvas>
See below:
Step 6
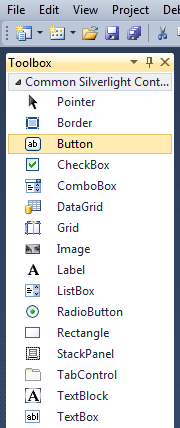
Then from the Common Silverlight Controls section in the Toolbox select the Button control:
Step 7
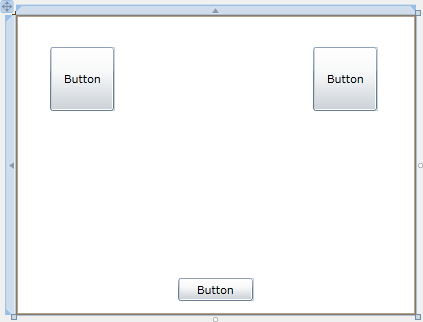
Draw Three Buttons on the Canvas by dragging the Buttons from the Toolbox onto the Canvas then in the XAML Pane inbetween the "<Canvas>" and "</Canvas>" tags change the "<Button> lines to the following:
<Button Canvas.Left="35" Canvas.Top="32" Height="64" Width="64" Name="Button1" Content="Button"/>
<Button Canvas.Left="298" Canvas.Top="32" Height="64" Width="64" Name="Button2" Content="Button"/>
<Button Canvas.Left="163" Canvas.Top="263" Height="23" Width="75" Name="Button3" Content="Button"/>
See below:
Step 8
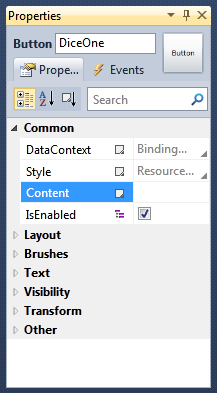
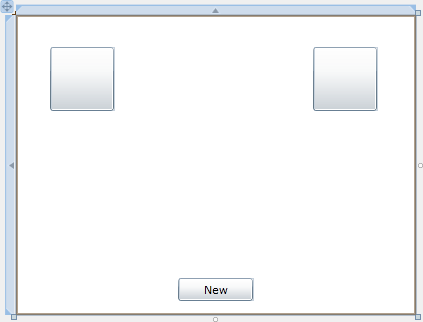
Click on the first Button (Button1), then goto the Properties box and change the Name to "DiceOne" and have the Content Property blank (without the quotes), see below:
Step 9
Click on the second Button (Button2), then goto the Properties box and change the Name to "DiceTwo" and the Content property from Button to blank like the First Button.
Click on the third Button (Button3) and goto the Properties box and change the Name to "New" and the Content property to "New".
(all without the quotes), the page should appear as below:
Step 10
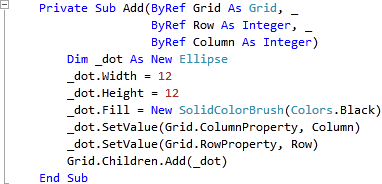
Right Click on the Page or the entry for "MainPage.xaml" in Solution Explorer and choose the "View Code" option. In the Code View below "End Sub" for "Public Sub New()" Constructor type the following Sub:
Private Sub Add(ByRef Grid As Grid, _
    ByRef Row As Integer, _
    ByRef Column As Integer)
  Dim _dot As New Ellipse
  _dot.Width = 12
  _dot.Height = 12
  _dot.Fill = New SolidColorBrush(Colors.Black)
  _dot.SetValue(Grid.ColumnProperty, Column)
  _dot.SetValue(Grid.RowProperty, Row)
  Grid.Children.Add(_dot)
End Sub
See Below:
Step 11
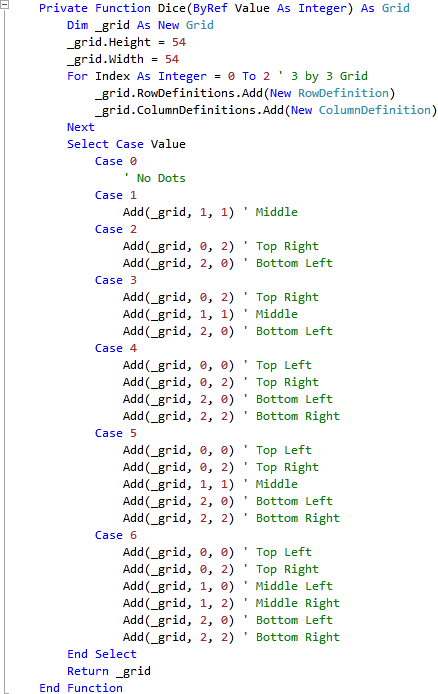
While still in the Code View for MainPage.xaml, below "End Sub" for "Private Sub Add(...)" Sub, type the following Function:
Private Function Dice(ByRef Value As Integer) As Grid
  Dim _grid As New Grid
  _grid.Height = 54
  _grid.Width = 54
  For Index As Integer = 0 To 2 ' 3 by 3 Grid
    _grid.RowDefinitions.Add(New RowDefinition)
    _grid.ColumnDefinitions.Add(New ColumnDefinition)
  Next
  Select Case Value
    Case 0
      ' No Dots
    Case 1
      Add(_grid, 1, 1) ' Middle
    Case 2
      Add(_grid, 0, 2) ' Top Right
      Add(_grid, 2, 0) ' Bottom Left
    Case 3
      Add(_grid, 0, 2) ' Top Right
      Add(_grid, 1, 1) ' Middle
      Add(_grid, 2, 0) ' Bottom Left
    Case 4
      Add(_grid, 0, 0) ' Top Left
      Add(_grid, 0, 2) ' Top Right
      Add(_grid, 2, 0) ' Bottom Left
      Add(_grid, 2, 2) ' Bottom Right
    Case 5
      Add(_grid, 0, 0) ' Top Left
      Add(_grid, 0, 2) ' Top Right
      Add(_grid, 1, 1) ' Middle
      Add(_grid, 2, 0) ' Bottom Left
      Add(_grid, 2, 2) ' Bottom Right
    Case 6
      Add(_grid, 0, 0) ' Top Left
      Add(_grid, 0, 2) ' Top Right
      Add(_grid, 1, 0) ' Middle Left
      Add(_grid, 1, 2) ' Middle Right
      Add(_grid, 2, 0) ' Bottom Left
      Add(_grid, 2, 2) ' Bottom Right
  End Select
  Return _grid
End Function
See Below:
Step 12
While still in the Code View for MainPage.xaml, below "End Function" for "Private Function Dice(...)" Function, type the following Function:
Private Function Roll() As Integer
  Randomize(Timer)
  Return CInt(Int((6 * Rnd()) + 1))
End Function
See Below:

Step 13
Return to the Designer View, by selecting the "MainPage.xaml" Tab, or Right Click on the Page or the Entry for "MainPage.xaml" in Solution Explorer and choose the "View Designer" option.
Double Click on the "New" Button Control and type in the New_Click Sub:
DiceOne.Content = Dice(0)
DiceTwo.Content = Dice(0)
See Below:

Step 14
Return to the Designer View, by selecting the "MainPage.xaml" Tab, or Right Click on the Page or the Entry for "MainPage.xaml" in Solution Explorer and choose the "View Designer" option.
Double Click on the Left-most Button (DiceOne) and type in the DiceOne_Click Sub:
DiceOne.Content = Dice(Roll)
See Below:

Step 15
Return to the Designer View, by selecting the "MainPage.xaml" Tab, or Right Click on the Page or the Entry for "MainPage.xaml" in Solution Explorer and choose the "View Designer" option.
Double Click on the Right-most Button (DiceTwo) and type in the DiceTwo_Click Sub:
DiceTwo.Content = Dice(Roll)
See Below:

Step 16
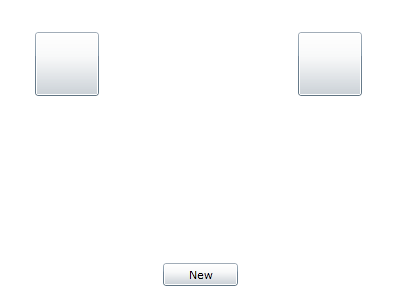
Save the Project as you have now finished the Silverlight application. Select Debug then Start Debugging or click on Start Debugging:
After you do, the following will appear in a new Web Browser window:
Step 17
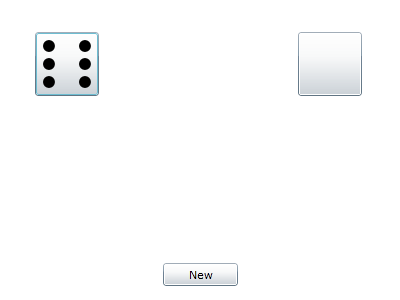
Now Click on the Left Large Button (DiceOne) for Player One, see below:
Step 18
Close the Browser window by clicking on the Close Button ![]() on
the top right of the Web Browser to Stop the application.
on
the top right of the Web Browser to Stop the application.
Clicking on either the First Large button is Player One and the Second is Player Two (Left & Right). This is a very simple Dice Game, you could add a Score system to see who's roll is better and give that player points or see what else you can add to this simple game!


