Silverlight 4 introduces the ability to access a Webcam and use it to capture images or video, here is a simple tutorial
to get the feed from a Webcam to appear in a Silverlight application using Visual Basic and Visual Web Developer 2010 Express Edition.
You will need a Webcam to be able to use this example - make sure you have your Webcam connected before running the Project,
the one used in this tutorial was the Xbox LIVE Vision Camera.
www.cespage.com/silverlight/sl4tut2.html
Step 1
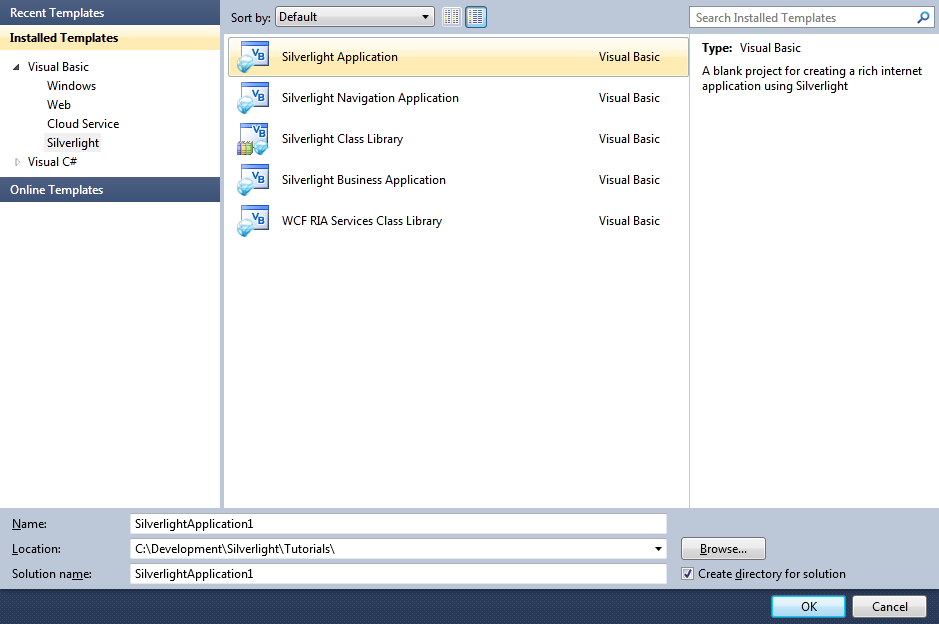
Start Microsoft Visual Web Developer 2010 Express, then Select File then New Project... Select "Visual Basic" then "Silverlight Application" from Templates, select a Location if you wish, then enter a name for the Project and then click OK, see below:

Step 2
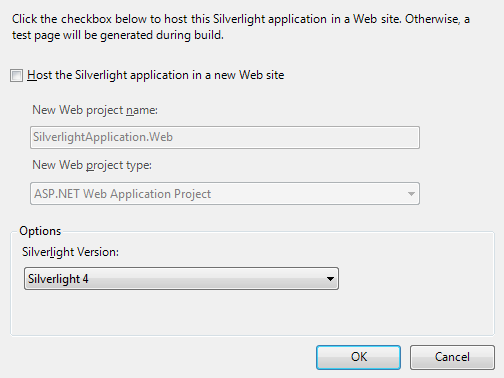
New Silverlight Application window should appear, uncheck the box "Host the Silverlight Application in a new Web site" and then select the required Silverlight Version, see below:
Step 3
A Blank Page named MainPage.xaml should then appear, see below:

Step 4
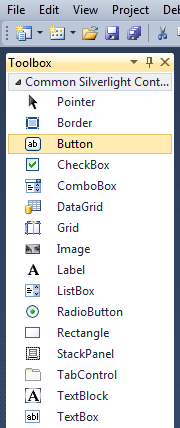
Then from the Common Silverlight Controls section in the Toolbox select the Button control:
Step 5
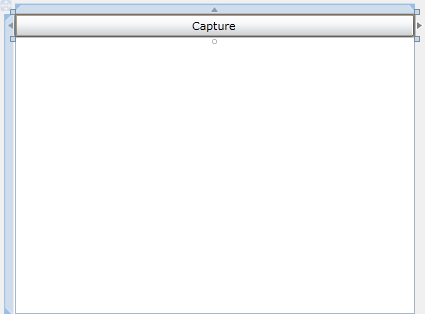
Draw a Button on the Page then in the XAML Pane above the "</Grid>" then change the "Button1" line to the following:
<Button Height="23" Width="400" VerticalAlignment="Top" Name="Capture" Name="Capture"/>
See below:
Step 6
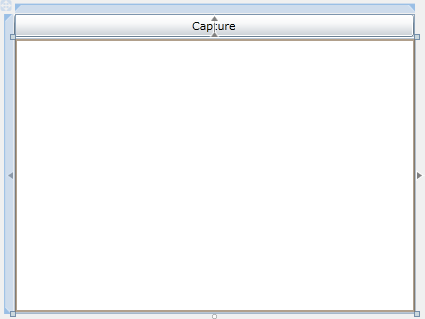
Still in the XAML Pane to add a Rectangle to the Page below the "<Button>" line, add the following:
<<Rectangle Height="273" Width="400" VerticalAlignment="Top" Margin="0,25,0,0">
  <Rectangle.Fill>
    <VideoBrush x:Name="Display" Stretch="Uniform"/>
  </Rectangle.Fill>
</Rectangle>
See below:
Step 7
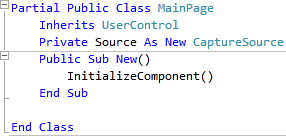
Right Click on the Page or the entry for "MainPage.xaml" in Solution Explorer and choose the "View Code" option. In the Code View below the "Inherits UserControl" line type the following:
Private Source As New CaptureSource
See Below:
Step 8
While still in the Code View for MainPage.xaml, below "InitializeComponent()" in the "Public Sub New()" Constructor type the following:
Source.VideoCaptureDevice = CaptureDeviceConfiguration.GetDefaultVideoCaptureDevice()
Display.SetSource(Source)
See Below:

Step 9
Return to the Designer View, by selecting the "MainPage.xaml" Tab, or Right Click on the Page or the Entry for "MainPage.xaml" in Solution Explorer and choose the "View Designer" option.
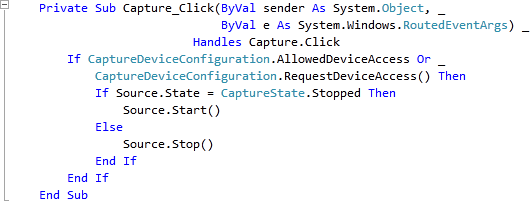
Double Click on the "Capture" Button and type in the Capture_Click Sub:
If CaptureDeviceConfiguration.AllowedDeviceAccess Or _
  CaptureDeviceConfiguration.RequestDeviceAccess() Then
  If Source.State = CaptureState.Stopped Then
    Source.Start()
  Else
    Source.Stop()
  End If
End If
See Below:
Step 10
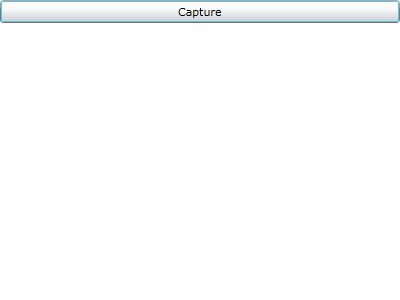
Save the Project as you have now finished the Silverlight application. Select Debug then Start Debugging or click on Start Debugging:
After you do, the following will appear in a new Web Browser window:
Step 11
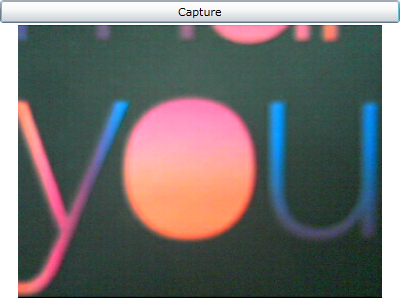
Now click where it says "Capture", a dialog will appear saying "Do you want to allow camera and microphone access?", just select "Yes" and the Display should show the feed from your Webcam, see below:
Step 12
Close the Browser window by clicking on the Close Button ![]() on
the top right of the Web Browser to Stop the application.
on
the top right of the Web Browser to Stop the application.
This was a simple Webcam application, it could be expanded to do more as the CaptureSource can be used to take screenshots from the Webcam
using the "AsyncCaptureImage" method for example.
If you could not get your Webcam feed to show up try Right Clicking on the Silverlight application, click the "Silverlight" option,
then select the Webcam / Mic Tab to choose your Webcam as the Default Video Source.