Control Templates enable the look-and-feel of Controls on Windows Phone 7 to differ allowing for a flexible user experience beyond the standard, such as customising a Button look and behaviour using Visual State Manager.
Printer Friendly Download Tutorial (444KB) Download Source Code (16.4KB)
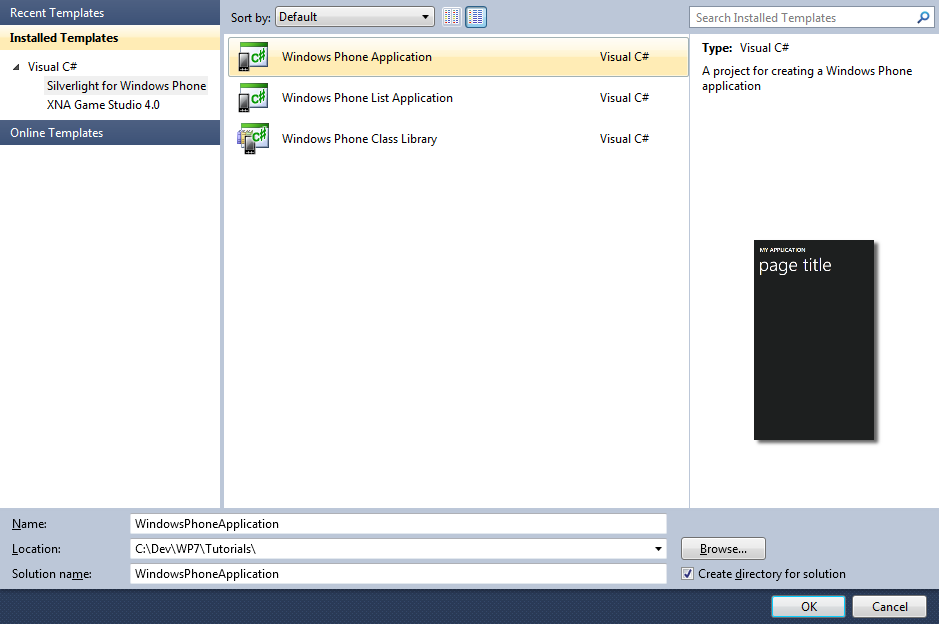
Step 1
Start Microsoft Visual Studio 2010 Express for Windows Phone, then Select File then New Project... Select "Visual C#" then "Silverlight for Windows Phone" and then "Windows Phone Application" from Templates, select a Location if you wish, then enter a name for the Project and then click OK, see below:
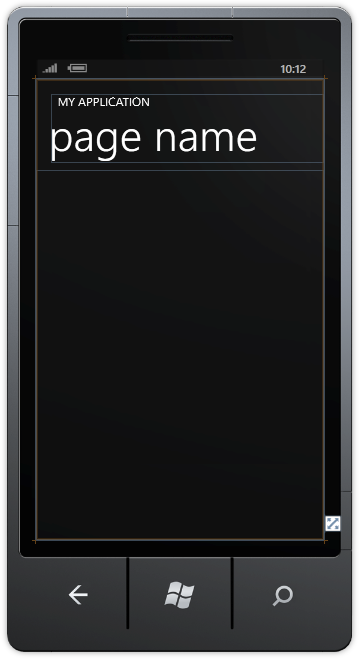
Step 2
A Windows Phone application Page named MainPage.xaml should then appear, see below:
Step 3
Then in the XAML Pane for MainPage.xaml, below the x:Class="ControlTemplate.MainPage" entry, type the following XAML namespace:
xmlns:vsm="clr-namespace:System.Windows;assembly=System.Windows"
See below:
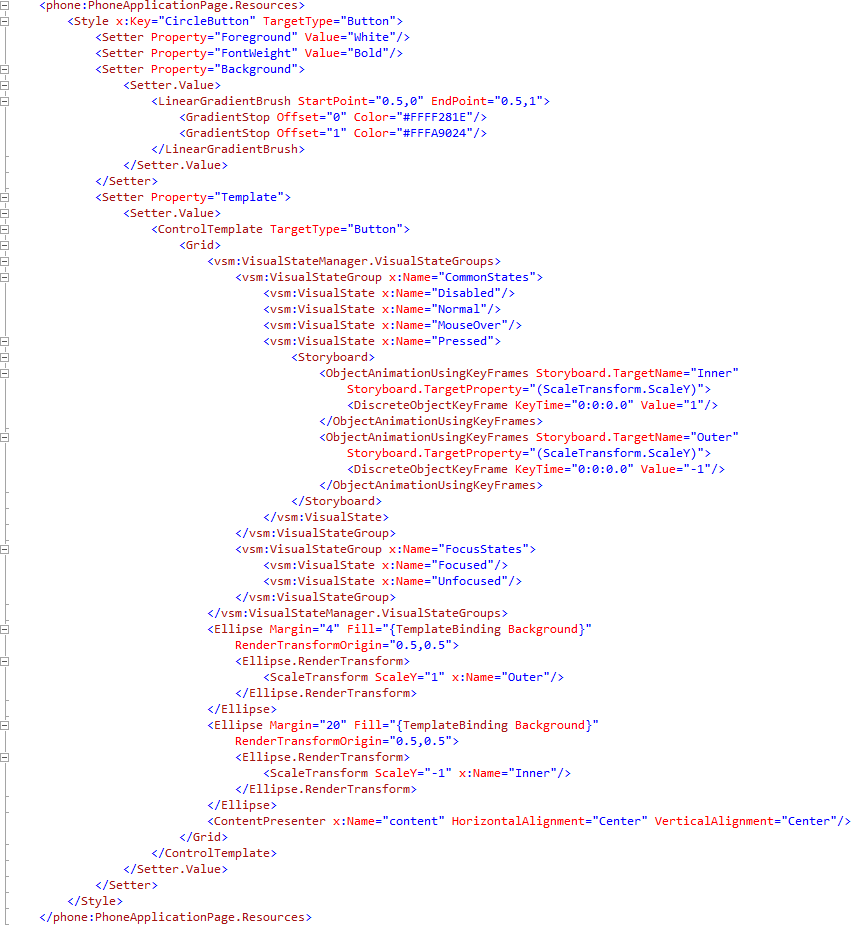
Step 4
While still in the XAML Pane above the <Grid x:Name="LayoutRoot" Background="Transparent"> line type the following XAML:
<phone:PhoneApplicationPage.Resources>
  <Style x:Key="CircleButton" TargetType="Button">
    <Setter Property="Foreground" Value="White"/>
    <Setter Property="FontWeight" Value="Bold"/>
    <Setter Property="Background">
      <Setter.Value>
        <LinearGradientBrush StartPoint="0.5,0" EndPoint="0.5,1">
          <GradientStop Offset="0" Color="#FFFF281E"/>
          <GradientStop Offset="1" Color="#FFFA9024"/>
        </LinearGradientBrush>
      </Setter.Value>
    </Setter>
    <Setter Property="Template">
      <Setter.Value>
        <ControlTemplate TargetType="Button">
          <Grid>
            <vsm:VisualStateManager.VisualStateGroups>
              <vsm:VisualStateGroup x:Name="CommonStates">
                <vsm:VisualState x:Name="Disabled"/>
                <vsm:VisualState x:Name="Normal"/>
                <vsm:VisualState x:Name="MouseOver"/>
                <vsm:VisualState x:Name="Pressed">
                  <Storyboard>
                    <ObjectAnimationUsingKeyFrames Storyboard.TargetName="Inner"
                        Storyboard.TargetProperty="(ScaleTransform.ScaleY)">
                      <DiscreteObjectKeyFrame KeyTime="0:0:0.0" Value="1"/>
                    </ObjectAnimationUsingKeyFrames>
                    <ObjectAnimationUsingKeyFrames Storyboard.TargetName="Outer"
                        Storyboard.TargetProperty="(ScaleTransform.ScaleY)">
                      <DiscreteObjectKeyFrame KeyTime="0:0:0.0" Value="-1"/>
                    </ObjectAnimationUsingKeyFrames>
                  </Storyboard>
                </vsm:VisualState>
              </vsm:VisualStateGroup>
              <vsm:VisualStateGroup x:Name="FocusStates">
                <vsm:VisualState x:Name="Focused"/>
                <vsm:VisualState x:Name="Unfocused"/>
              </vsm:VisualStateGroup>
            </vsm:VisualStateManager.VisualStateGroups>
            <Ellipse Margin="4" Fill="{TemplateBinding Background}"
                RenderTransformOrigin="0.5,0.5">
              <Ellipse.RenderTransform>
                <ScaleTransform ScaleY="1" x:Name="Outer"/>
              </Ellipse.RenderTransform>
            </Ellipse>
            <Ellipse Margin="20" Fill="{TemplateBinding Background}"
                RenderTransformOrigin="0.5,0.5">
              <Ellipse.RenderTransform>
                <ScaleTransform ScaleY="-1" x:Name="Inner"/>
              </Ellipse.RenderTransform>
            </Ellipse>
            <ContentPresenter x:Name="content" HorizontalAlignment="Center" VerticalAlignment="Center"/>
          </Grid>
        </ControlTemplate>
      </Setter.Value>
    </Setter>
  </Style>
</phone:PhoneApplicationPage.Resources>
See below:
Step 5
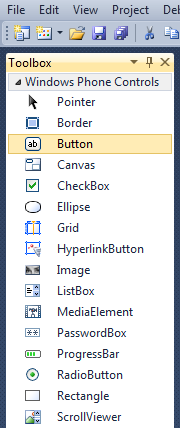
Return to the MainPage.xaml Designer View by selecting the "MainPage.xaml" Tab
Then from the Windows Phone Controls section in the Toolbox select the Button control:
Step 6
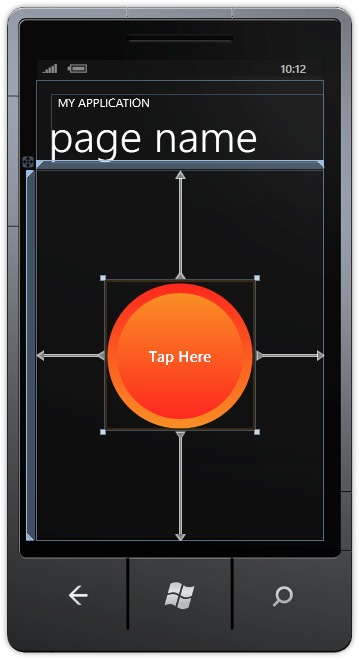
Draw a Button on the Page by dragging the Button from the Toolbox onto the Page, then in the XAML Pane between the <Grid x:Name="ContentGrid" Grid.Row="1"> and </Grid> lines, change the "Button1" line to the following:
<Button Height="250" Width="250" Style="{StaticResource CircleButton}" Content="Tap Here" Name="HelloWorld"/>
See below:
Step 7
The Button should have the "CircleButton" Style applied and not appear as a standard Button on Windows Phone 7.
Double Click on the Button Control and type in the HelloWorld_Click method:
PageTitle.Text = "Hello World";
See Below:

Step 8
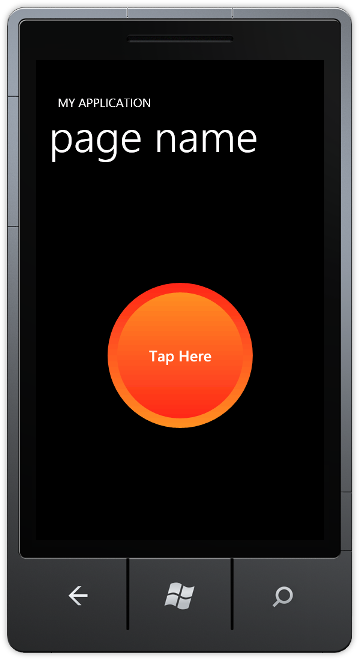
Save the Project as you have now finished the Windows Phone Silverlight application. Select the Windows Phone Emulator option then Select Debug then Start Debugging or click on Start Debugging:
After you do, the following will appear in the Windows Phone Emulator after it has been loaded:
Step 9
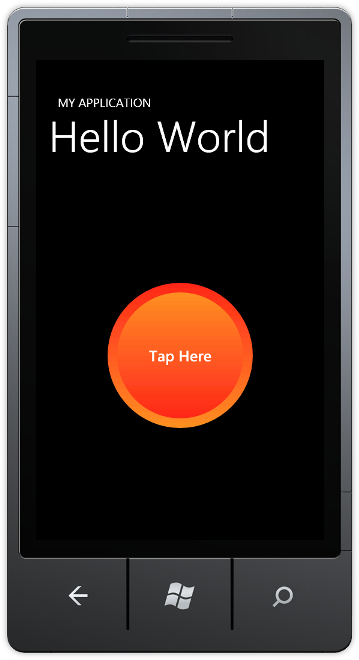
Now tap where it says "Tap Here" and the page title will change to Hello World, see below:
Step 10
You can then Stop the application by selecting the Visual Studio 2010 application window and clicking on the Stop Debugging button:
This is a simple example of how to Customise the Control Template of a Control such as a Button, it is possible to change the look-and-feel of other controls or add more behaviours - make it your own!
![]()