This Tutorial will show you how to make a simple Drawing Package using a PictureBox on a Form
www.cespage.com/vb/vbdntut4.html
Step 1
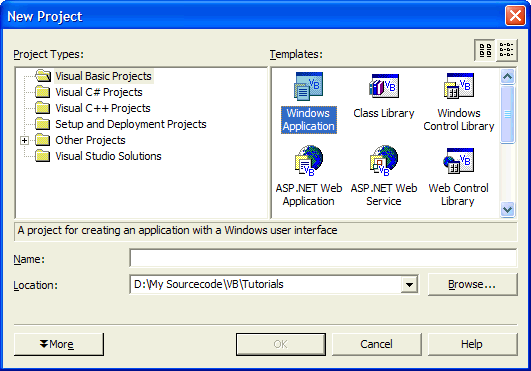
Load Microsoft Visual Studio.NET then select Visual Basic Projects, Windows Application, enter a name for the Project and then click OK, see below:

Step 2
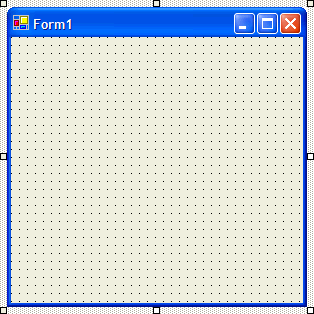
A Blank Form named Form1 should then appear, see below:
Step 3
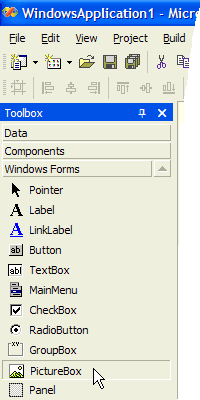
Then from the Windows Forms components tab select the PictureBox control:
Step 4
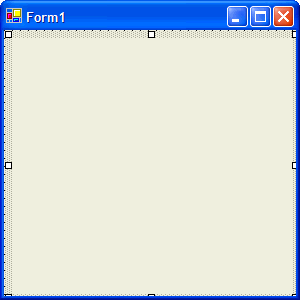
Draw a PictureBox on the Form, see below:
Step 5
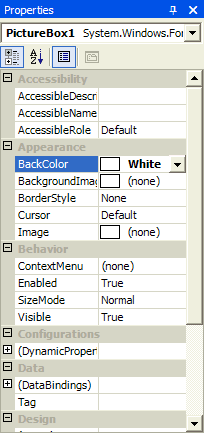
Then go to the Properties box and change the BackColor property from Control to White, see below:
Step 6
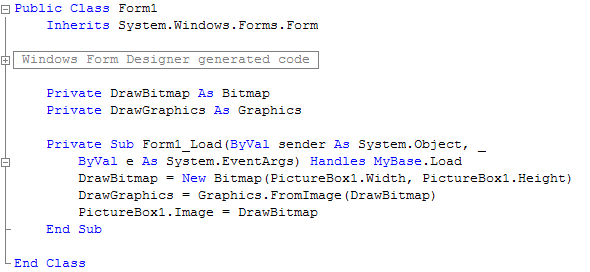
Double click on the Form and type the following Declarations just below the Public Class section at the top:
Private DrawBitmap As Bitmap
Private DrawGraphics As Graphics
Then type in the following into the Form1_Load method:
DrawBitmap = New Bitmap(PictureBox1.Width, PictureBox1.Height)
DrawGraphics = Graphics.FromImage(DrawBitmap)
PictureBox1.Image = DrawBitmap
See Below:
Step 7
While still in code view select from the Listbox on the top left PictureBox and from the list on the top right MouseMove, then type the following into the PictureBox1_MouseMove method:
If e.Button = Windows.Forms.MouseButtons.Left Then
  DrawGraphics.FillEllipse(Brushes.Blue, e.X, e.Y, 8, 8)
  PictureBox1.Image = DrawBitmap
End If
See Below:

Step 8
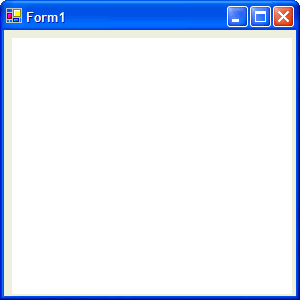
Save the Project as you have now finished the application, select Release and Click on Start:
When you do the following will appear:
Step 9
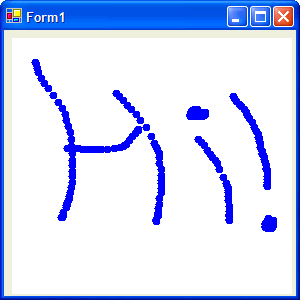
Now hold down the Left mouse button and draw on the White PictureBox, it will appear as a Blue trail!
Step 10
Click on the Close button ![]() on the top right of Form1 to end the application.
on the top right of Form1 to end the application.
This is a very simple Drawing Package, Try changing the size of the FillEllipse to get a Thicker line, or the Brush e.g. Brushes.Green or Brushes.Red!