Well if you did the Drawing Tutorial this is even better, which will introduce you to the ComboBox and PictureBox Controls plus Structures, Drawing Methods, Loops, Collections and supports image persistence!
www.cespage.com/vb/vbdntut6.html
Step 1
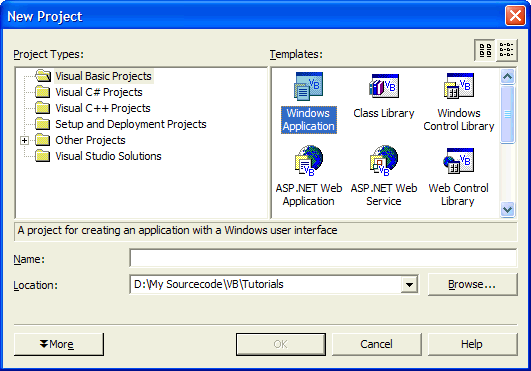
Load Microsoft Visual Studio.NET then select Visual Basic Projects, Windows Application, enter a name for the Project and then click OK, see below:

Step 2
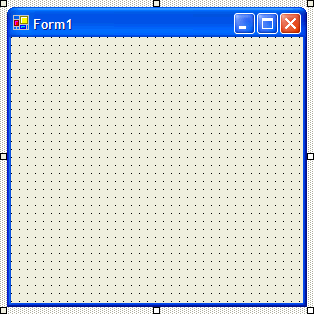
A Blank Form named Form1 should then appear, see below:
Step 3
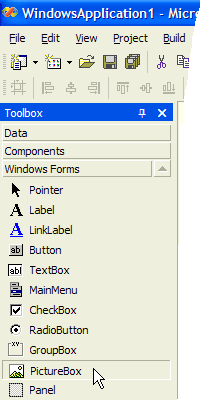
Then from the Windows Forms components tab select the PictureBox control:
Step 4
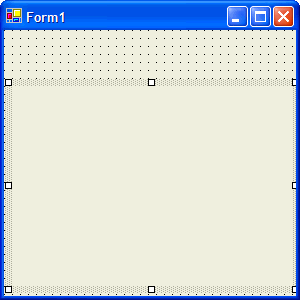
Draw a PictureBox on the Form, see below:
Step 5
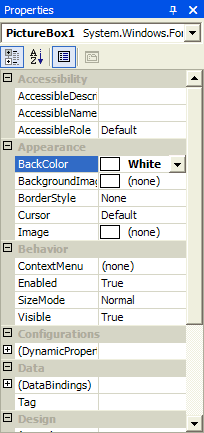
Then go to the Properties box and change the BackColor property from Control to White, see below:
Step 6
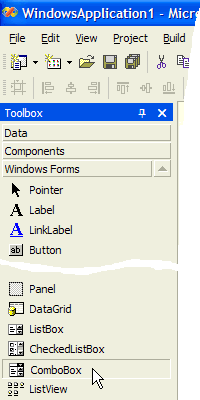
Then from the Windows Forms components tab select the ComboBox control:
Step 7
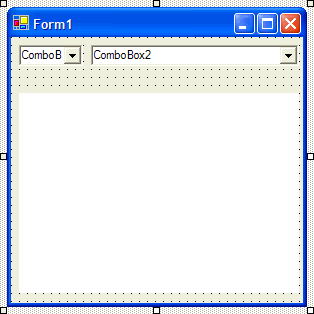
Draw two ComboBoxes on the Form, see below:
Step 8
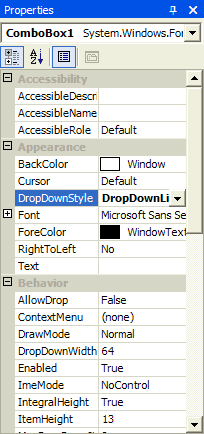
Click on ComboBox1 and then go to the Properties box and change the DropDownStyle Property to DropDownList, see below:
Step 9
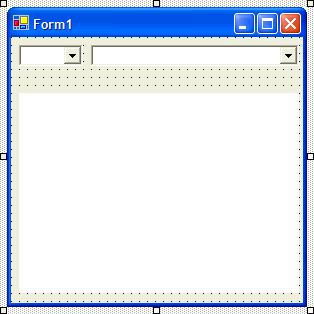
Click on ComboBox2 and then go to the Properties box and change the DropDownStyle Property to DropDownList, the form should appear as below:
Step 10
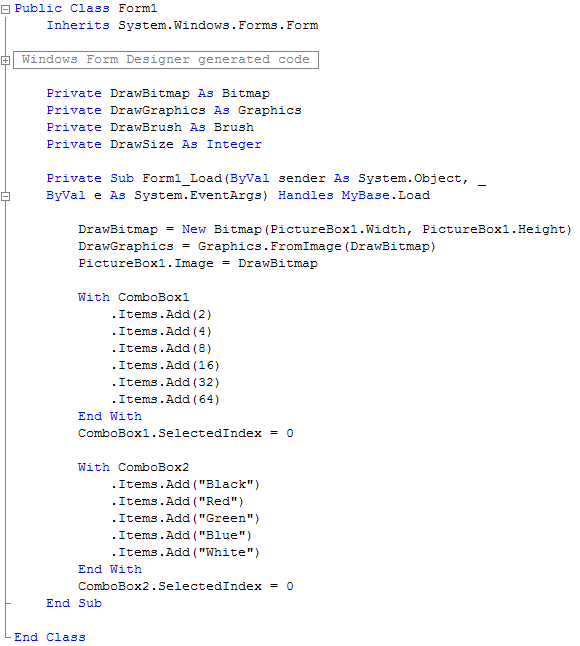
Double click on the Form and type the following Declarations just below the Public Class section at the top:
Private DrawBitmap As Bitmap
Private DrawGraphics As Graphics
Private DrawBrush As Brush
Private DrawSize As Integer
Then type in the following into the Form1_Load method:
DrawBitmap = New Bitmap(PictureBox1.Width, PictureBox1.Height)
DrawGraphics = Graphics.FromImage(DrawBitmap)
PictureBox1.Image = DrawBitmap

With ComboBox1
  .Items.Add(2)
  .Items.Add(4)
  .Items.Add(8)
  .Items.Add(16)
  .Items.Add(32)
  .Items.Add(64)
End With
ComboBox1.SelectedIndex = 0

With ComboBox2
  .Items.Add("Black")
  .Items.Add("Red")
  .Items.Add("Green")
  .Items.Add("Blue")
  .Items.Add("White")
End With
ComboBox2.SelectedIndex = 0
See Below:
Step 11
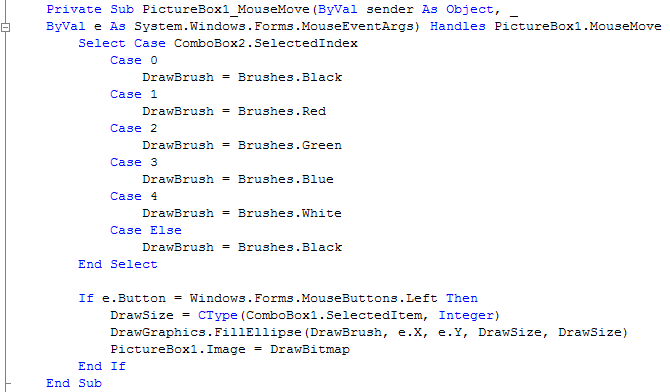
Right click on the Form and select the view Code option then in the Top Right List select PictureBox1, and then in the Top Left List select MouseMove, then type in the PictureBox1_MouseMove Sub:
Select Case ComboBox2.SelectedIndex
  Case 0
    DrawBrush = Brushes.Black
  Case 1
    DrawBrush = Brushes.Red
  Case 2
    DrawBrush = Brushes.Green
  Case 3
    DrawBrush = Brushes.Blue
  Case 4
    DrawBrush = Brushes.White
  Case Else
    DrawBrush = Brushes.Black
End Select

If e.Button = Windows.Forms.MouseButtons.Left Then
  DrawSize = CType(ComboBox1.SelectedItem, Integer)
  DrawGraphics.FillEllipse(DrawBrush, e.X, e.Y, DrawSize, DrawSize)
  PictureBox1.Image = DrawBitmap
End If
See Below:
Step 12
Save the Project as you have now finished the application, select Release and Click on Start:
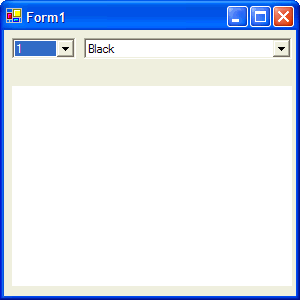
When you do the following will appear:
Step 13
Change the Value in the Left ComboBox to 8 and the in the Right ComboBox to Blue, and draw something by holding down the Left mouse button and draw on the White PictureBox, see below:

Step 14
Click on the Close button ![]() on the top right of Form1 to end the application.
on the top right of Form1 to end the application.
Great you have just created an improved Drawing Package! Try changing the program so that
other Draw Widths are available (add more values to Combobox1) Plus add more colours by adding
the new names e.g. Yellow and then in the PictureBox_MouseMove add a line in the Select case e.g.
case 5 mycolor = Brushes.Yellow.
Try changing other parts of the code and extending it, you can learn a lot from this simple drawing package.