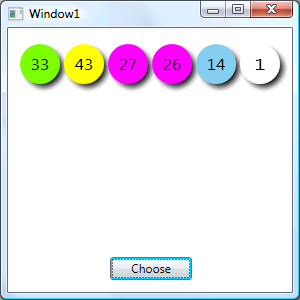
This is another simple game allowing you to choose your Lotto Numbers using Random Number generation, features correctly coloured balls for UK Lotto and Drawing using Windows Presentation Foundation (WPF).
Printer Friendly Download Tutorial (165KB) Download Source Code (11KB)
Step 1
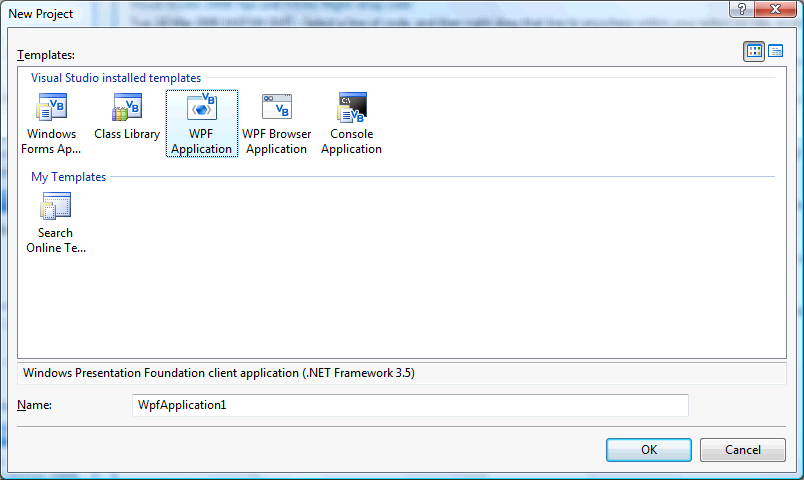
Start Microsoft Visual Basic 2008 Express Edition, then select File then New Project... Choose WPF Application from the New Project Window, enter a name for the Project and then click OK, see below:
Step 2
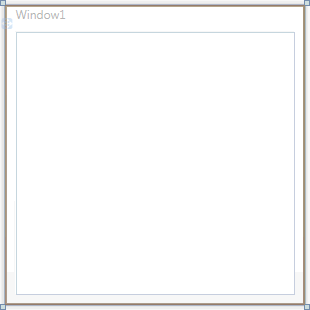
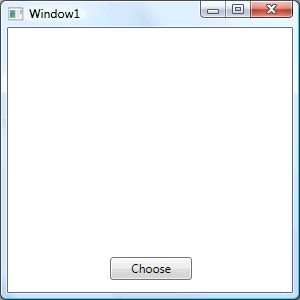
A Blank Window named Window1 should then appear, see below:
Step 3
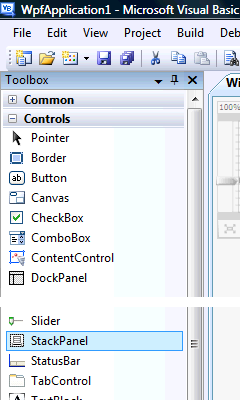
Then from the Controls tab on the Toolbox select the StackPanel component:
Step 4
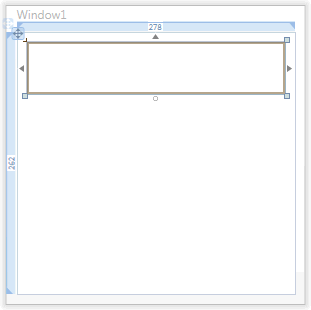
Draw a StackPanel on the Window or in the XAML Pane below the "<Grid>" type the following:
<StackPanel Margin="10,10,10,0" Name="StackPanel1" Height="52" VerticalAlignment="Top" Orientation="Horizontal"></StackPanel>
See below:
Step 5
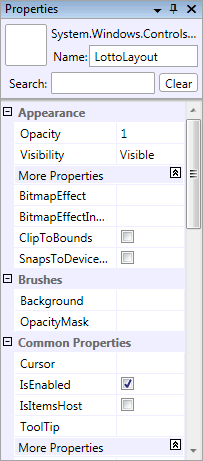
Select or click on the StackPanel then goto the Properties box, change the Name to "LottoLayout" without the quotes, see below:
Step 6
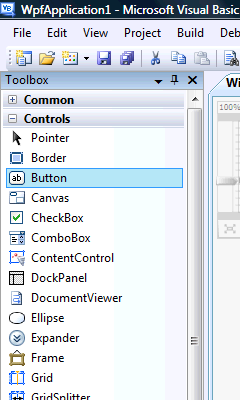
Then from the Controls tab on the Toolbox select the Button component:
Step 7
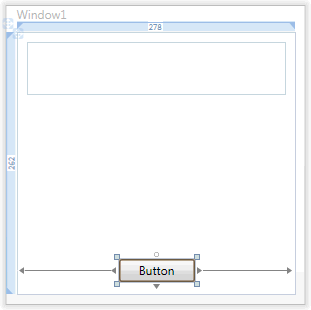
Draw a Button on the Window, by dragging the Button from the Toolbox onto the Window, or in the XAML Pane above the "</Grid>" type the following:
<Button Margin="102,0,100,12" Name="Button1" Height="23" VerticalAlignment="Bottom">Button</Button>
See below:
Step 8
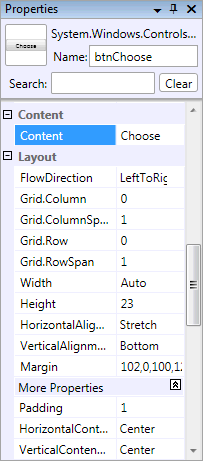
Select or click on the Button (Button1), then goto the Properties box and change the Name to btnChoose and the Content property from Button to Choose, see below:
Step 9
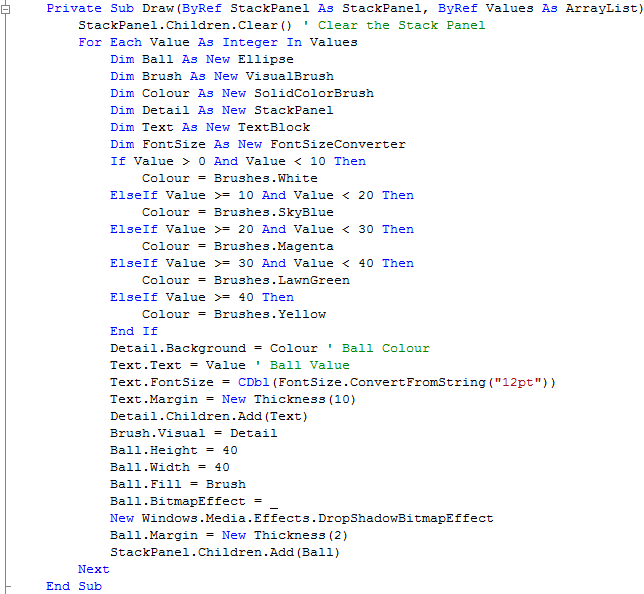
Right Click on the Window or the entry for "Window1" in the Solution Explorer and choose the "View Code" option then below "Class Window1" type the following:
Private Sub Draw(ByRef StackPanel As StackPanel, ByRef Values As ArrayList)
  StackPanel.Children.Clear() ' Clear the Stack Panel
  For Each Value As Integer In Values
    Dim Ball As New Ellipse
    Dim Brush As New VisualBrush
    Dim Colour As New SolidColorBrush
    Dim Detail As New StackPanel
    Dim Text As New TextBlock
    Dim FontSize As New FontSizeConverter
    If Value > 0 And Value < 10 Then
      Colour = Brushes.White
    ElseIf Value >= 10 And Value < 20 Then
      Colour = Brushes.SkyBlue
    ElseIf Value >= 20 And Value < 30 Then
      Colour = Brushes.Magenta
    ElseIf Value >= 30 And Value < 40 Then
      Colour = Brushes.LawnGreen
    ElseIf Value >= 40 Then
      Colour = Brushes.Yellow
    End If
    Detail.Background = Colour ' Ball Colour
    Text.Text = Value ' Ball Value
    Text.FontSize = CDbl(FontSize.ConvertFromString("12pt"))
    Text.Margin = New Thickness(10)
    Detail.Children.Add(Text)
    Brush.Visual = Detail
    Ball.Height = 40
    Ball.Width = 40
    Ball.Fill = Brush
    Ball.BitmapEffect = _
    New Windows.Media.Effects.DropShadowBitmapEffect
    Ball.Margin = New Thickness(2)
    StackPanel.Children.Add(Ball)
  Next
End Sub
See Below:
Step 10
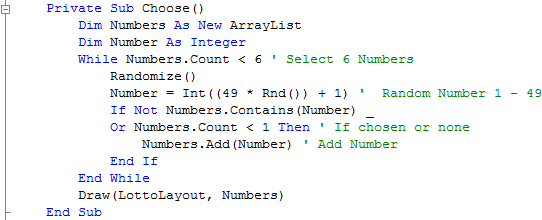
While still in the Code View for Window1, below the "End Sub" for "Private Sub Draw(...)", type the following:
Private Sub Choose()
  Dim Numbers As New ArrayList
  Dim Number As Integer
  While Numbers.Count < 6 ' Select 6 Numbers
    Randomize()
    Number = Int((49 * Rnd()) + 1) '  Random Number 1 - 49
    If Not Numbers.Contains(Number) _
    Or Numbers.Count < 1 Then ' If chosen or none
      Numbers.Add(Number) ' Add Number
    End If
  End While
  Draw(LottoLayout, Numbers)
End Sub
See Below:
Step 11
Return to the Design view by selecting the [Design] tab or Right Click on the "View Designer" option in Solution Explorer for Window1. Double Click on the "Choose" Button (btnChoose) and type the following in the btnChoose_Click() Sub:
Choose()
See Below:

Step 12
Save the Project as you have now finished the application, then click on Start:
When you do the following will appear:
Step 13
Click the Choose button to select your Lotto Numbers, see below:
Step 14
Click on the Close button ![]() on the top right of Window1 to end the application.
on the top right of Window1 to end the application.
This is a simple Lotto Number selector using a random number generator and WPF-based graphics! You can customise the ball colours for your own colours to match your Lotto, instead of the UK ones used here. Try making changes such as showing the numbers in ascending order and more!

