This Tutorial will show you how to make a simple Drawing Package using a PictureBox on a Form
Printer Friendly Download Tutorial (92.5KB) Download Source Code (13.1KB)
Step 1
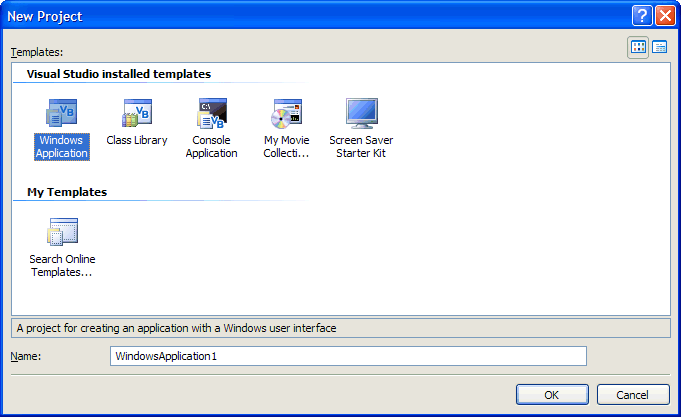
Start Microsoft Visual Basic 2005 Express Edition, then select File then New Project... Choose Windows Application from the New Project Window, enter a name for the Project and then click OK, see below:
Step 2
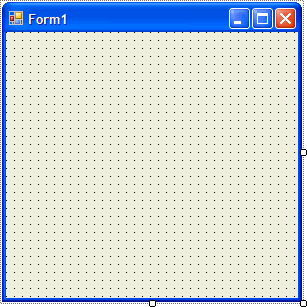
A Blank Form named Form1 should then appear, see below:
Step 3
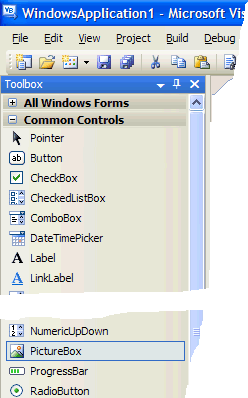
Then from the Windows Forms components tab select the PictureBox control:
Step 4
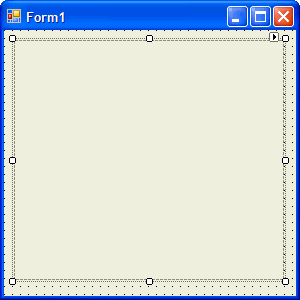
Draw a PictureBox on the Form, see below:
Step 5
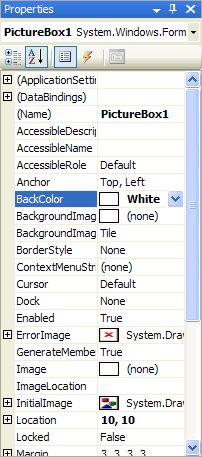
Then go to the Properties box and change the BackColor property from Control to White, see below:
Step 6
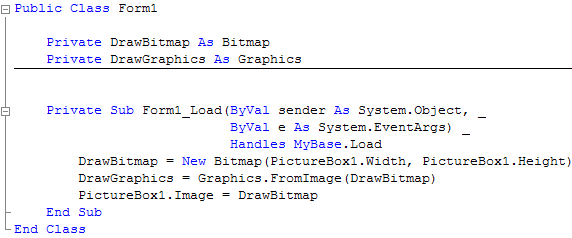
Double click on the Form and type the following Declarations just below the Public Class section at the top:
Private DrawBitmap As Bitmap
Private DrawGraphics As Graphics
Then type in the following into the Form1_Load method:
DrawBitmap = New Bitmap(PictureBox1.Width, PictureBox1.Height)
DrawGraphics = Graphics.FromImage(DrawBitmap)
PictureBox1.Image = DrawBitmap
See Below:
Step 7
While still in the Code View select from the Listbox on the top left PictureBox and from the list on the top right MouseMove, then type the following into the PictureBox1_MouseMove method that appears in the Code View:
If e.Button = Windows.Forms.MouseButtons.Left Then
  DrawGraphics.FillEllipse(Brushes.Blue, e.X, e.Y, 8, 8)
  PictureBox1.Image = DrawBitmap
End If
See Below:

Step 8
Save the Project as you have now finished the application, then click on Start:
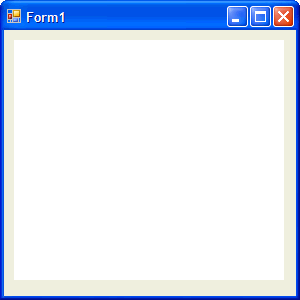
When you do the following will appear:
Step 9
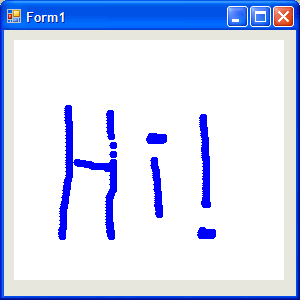
Now hold down the Left mouse button and draw on the White PictureBox, it will appear as a Blue trail!
Step 10
Click on the Close button ![]() on the top right of Form1 to end the application.
on the top right of Form1 to end the application.
This is a very simple Drawing Package, Try changing the size of the FillEllipse to get a Thicker line, or the Brush e.g. Brushes.Green or Brushes.Red!

