You will create an On-Screen Keyboard which lists all the Windows on your Computer and allows you to type into those using the Application with a bit of help from functionality available in Windows.
Printer Friendly Download Tutorial (239KB) Download Source Code (13.7KB)
Step 1
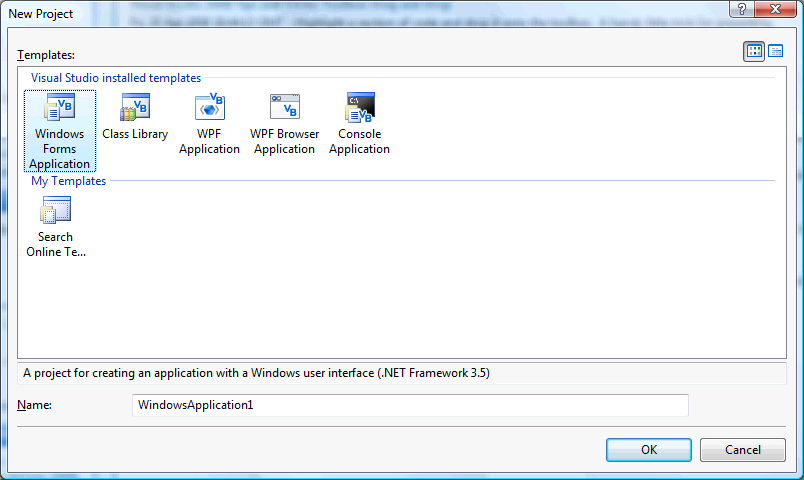
Start Microsoft Visual Basic 2008 Express Edition, then select File then New Project... Choose Windows Forms Application from the New Project Window, enter a name for the Project and then click OK, see below:
Step 2
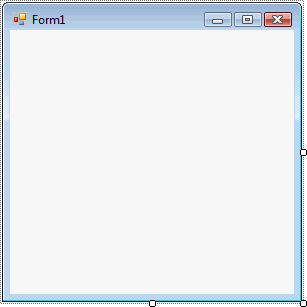
A Blank Form named Form1 should then appear, see below:
Step 3
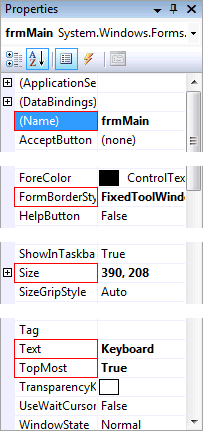
With Form1 selected goto the Properties box and change the Name from Form1 to frmMain and FormBorderStyle to FixedToolWindow. Size to "390, 208" and Text to "Keyboard" both without the quotes and then set TopMost to True.
Step 4
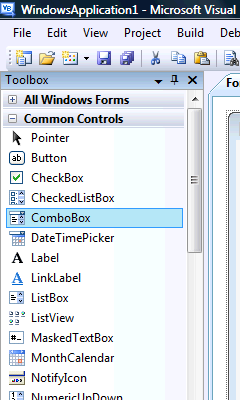
Then from the Common Controls tab on the Toolbox select the ComboBox component:
Step 5
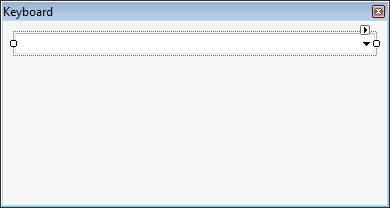
Draw a ComboBox on the Form, see below:
Step 6
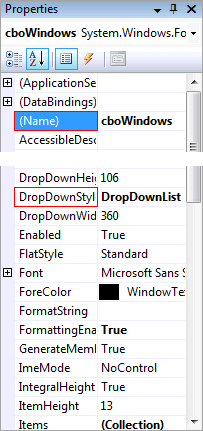
Select or click on the ComboBox, then goto the Properties box and change the Name to cboWindows and DropDownStyle to DropDownList, see below:
Step 7
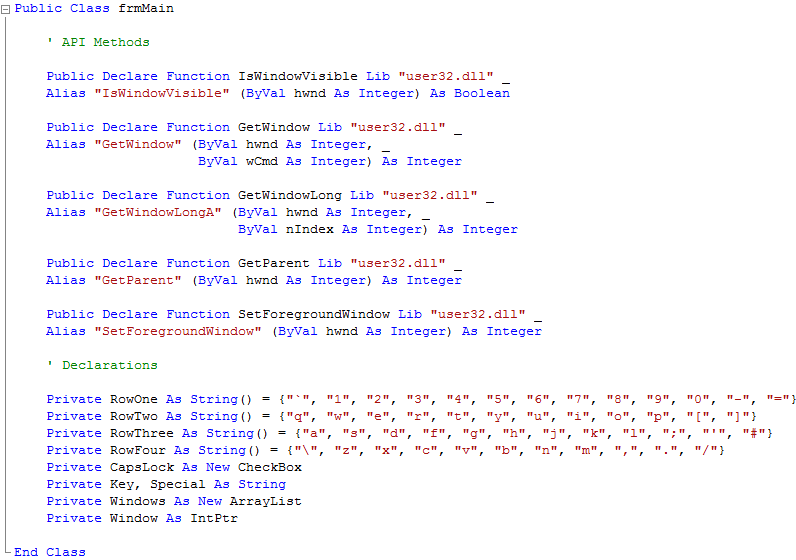
Right Click on the Form or the entry of the Form in Solution Explorer and choose the "View Code" option then below the "Public Class frmMain" type the following API Methods and Declarations:
' API Methods

Public Declare Function IsWindowVisible Lib "user32.dll" _
Alias "IsWindowVisible" (ByVal hwnd As Integer) As Boolean

Public Declare Function GetWindow Lib "user32.dll" _
Alias "GetWindow" (ByVal hwnd As Integer, _
                   ByVal wCmd As Integer) As Integer

Public Declare Function GetWindowLong Lib "user32.dll" _
Alias "GetWindowLongA" (ByVal hwnd As Integer, _
                        ByVal nIndex As Integer) As Integer

Public Declare Function GetParent Lib "user32.dll" _
Alias "GetParent" (ByVal hwnd As Integer) As Integer

Public Declare Function SetForegroundWindow Lib "user32.dll" _
Alias "SetForegroundWindow" (ByVal hwnd As Integer) As Integer

' Declarations

Private RowOne As String() = {"`", "1", "2", "3", "4", "5", "6", "7", "8", "9", "0", "-", "="}
Private RowTwo As String() = {"q", "w", "e", "r", "t", "y", "u", "i", "o", "p", "[", "]"}
Private RowThree As String() = {"a", "s", "d", "f", "g", "h", "j", "k", "l", ";", "'", "#"}
Private RowFour As String() = {"\", "z", "x", "c", "v", "b", "n", "m", ",", ".", "/"}
Private CapsLock As New CheckBox
Private Key, Special As String
Private Windows As New ArrayList
Private Window As IntPtr
See Below:
Step 8
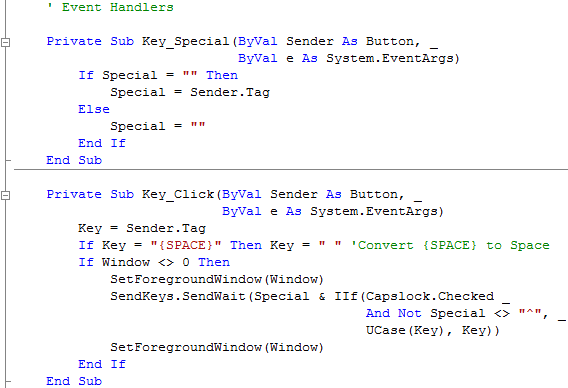
Still within the Code View of the Form, enter below the API Methods and Declarations the following Event Handlers:
' Event Handlers

Private Sub Key_Special(ByVal Sender As Button, _
                      ByVal e As System.EventArgs)
  If Special = "" Then
    Special = Sender.Tag
  Else
    Special = ""
  End If
End Sub

Private Sub Key_Click(ByVal Sender As Button, _
                    ByVal e As System.EventArgs)
  Key = Sender.Tag
  If Key = "{SPACE}" Then Key = " " 'Convert {SPACE} to Space
  If Window <> 0 Then
    SetForegroundWindow(Window)
    SendKeys.SendWait(Special & IIf(Capslock.Checked _
                                    And Not Special <> "^", _
                                    UCase(Key), Key))
    SetForegroundWindow(Window)
  End If
End Sub
See Below:
Step 9
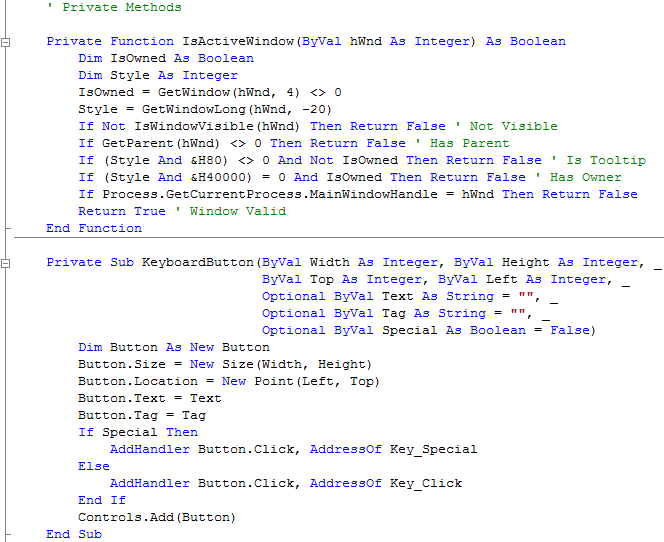
With the Code View still displayed for the Form, below the Event Handlers enter the following Private Methods:
' Private Methods

Private Function IsActiveWindow(ByVal hWnd As Integer) As Boolean
  Dim IsOwned As Boolean
  Dim Style As Integer
  IsOwned = GetWindow(hWnd, 4) <> 0
  Style = GetWindowLong(hWnd, -20)
  If Not IsWindowVisible(hWnd) Then Return False ' Not Visible
  If GetParent(hWnd) <> 0 Then Return False ' Has Parent
  If (Style And &H80) <> 0 And Not IsOwned Then Return False ' Is Tooltip
  If (Style And &H40000) = 0 And IsOwned Then Return False ' Has Owner
  If Process.GetCurrentProcess.MainWindowHandle = hWnd Then Return False
  Return True ' Window Valid
End Function

Private Sub KeyboardButton(ByVal Width As Integer, ByVal Height As Integer, _
                         ByVal Top As Integer, ByVal Left As Integer, _
                         Optional ByVal Text As String = "", _
                         Optional ByVal Tag As String = "", _
                         Optional ByVal Special As Boolean = False)
  Dim Button As New Button
  Button.Size = New Size(Width,Height)
  Button.Location = New Point(Left, Top)
  Button.Text = Text
  Button.Tag = Tag
  If Special Then
    AddHandler Button.Click, AddressOf Key_Special
  Else
    AddHandler Button.Click, AddressOf Key_Click
  End If
  Controls.Add(Button)
End Sub
See Below:
Step 10
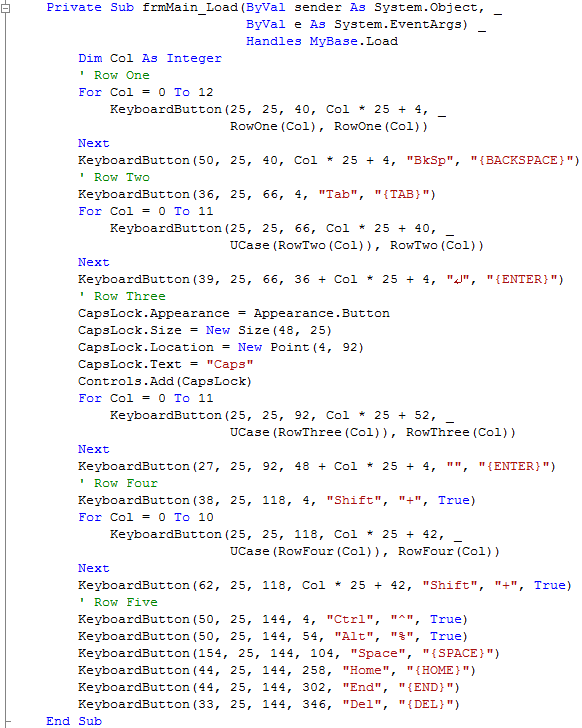
Return to the Design view by selecting the [Design] tab or Right Click on the "View Designer" option in Solution Explorer for frmMain. With the Form Displayed, Double Click on the Form (frmMain) and type the following in the frmMain_Load() Sub
Dim Col As Integer
' Row One
For Col = 0 To 12
  KeyboardButton(25, 25, 40, Col * 25 + 4, _
                 RowOne(Col), RowOne(Col))
Next
KeyboardButton(50, 25, 40, Col * 25 + 4, "BkSp", "{BACKSPACE}")
' Row Two
KeyboardButton(36, 25, 66, 4, "Tab", "{TAB}")
For Col = 0 To 11
  KeyboardButton(25, 25, 66, Col * 25 + 40, _
                 UCase(RowTwo(Col)), RowTwo(Col))
Next
KeyboardButton(39, 25, 66, 36 + Col * 25 + 4, "↵", "{ENTER}")
' Row Three
CapsLock.Appearance = Appearance.Button
CapsLock.Size = New Size(48, 25)
CapsLock.Location = New Point(4, 92)
CapsLock.Text = "Caps"
Controls.Add(CapsLock)
For Col = 0 To 11
  KeyboardButton(25, 25, 92, Col * 25 + 52, _
                 UCase(RowThree(Col)), RowThree(Col))
Next
KeyboardButton(27, 25, 92, 48 + Col * 25 + 4, "", "{ENTER}")
' Row Four
KeyboardButton(38, 25, 118, 4, "Shift", "+", True)
For Col = 0 To 10
  KeyboardButton(25, 25, 118, Col * 25 + 42, _
                 UCase(RowFour(Col)), RowFour(Col))
Next
KeyboardButton(62, 25, 118, Col * 25 + 42, "Shift", "+", True)
' Row Five
KeyboardButton(50, 25, 144, 4, "Ctrl", "^", True)
KeyboardButton(50, 25, 144, 54, "Alt", "%", True)
KeyboardButton(154, 25, 144, 104, "Space", "{SPACE}")
KeyboardButton(44, 25, 144, 258, "Home", "{HOME}")
KeyboardButton(44, 25, 144, 302, "End", "{END}")
KeyboardButton(33, 25, 144, 346, "Del", "{DEL}")
See Below:
Step 11
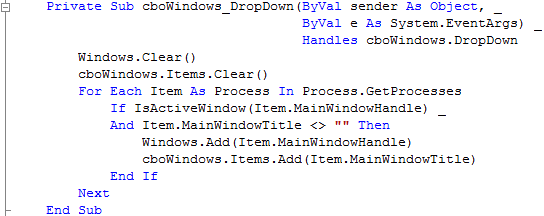
Return to the Code View, by double-clicking on the Form, this will show the frmMain_Load Sub from the previous step, in Code view are two drop-down boxes, select "cboWindows" from the first drop-down with "(frmMain Events)", and then from the other "(Declarations)" select "DropDown" and type the following in the cboWindows_DropDown(...) Sub:
Windows.Clear()
cboWindows.Items.Clear()
For Each Item As Process In Process.GetProcesses
  If IsActiveWindow(Item.MainWindowHandle) _
  And Item.MainWindowTitle <> "" Then
    Windows.Add(Item.MainWindowHandle)
    cboWindows.Items.Add(Item.MainWindowTitle)
  End If
Next
See Below:
Step 12
While still in the Code View, select "cboWindows" from the first drop-down box again "(General)", then from the other "(Declarations)" select "SelectedIndexChanged" and type following in the cboWindows_SelectedIndexChanged(...) Sub:
If cboWindows.SelectedItem <> Nothing Then
  Window = Windows.Item(cboWindows.SelectedIndex)
End If
See Below:

Step 13
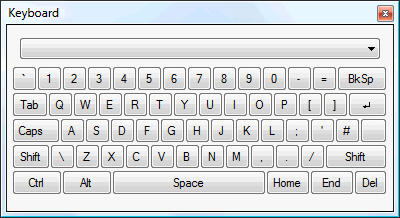
Save the Project as you have now finished the application, then click on Start:
When you do the following will appear:
Step 14
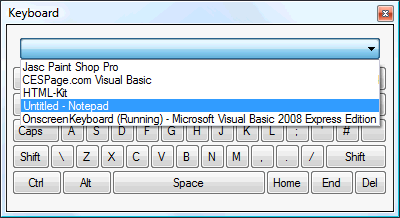
Any Windows open on your Computer will be displayed in the ComboBox, when selected it is this window that will receive input from the On-screen Keyboard, see below:
Step 15
Click on the Close button ![]() on the top right to end the application.
on the top right to end the application.
This is a very simple application showing how you can create an On-Screen Keyboard using some of the features present in Windows to allow the keyboard to interact with other Application Windows, the layout used in the keyboard is UK you can change the RowOne, RowTwo, RowThree and RowFour lists to alter the layout shown such as swapping Y and Z for German layout etc, make it your own!

